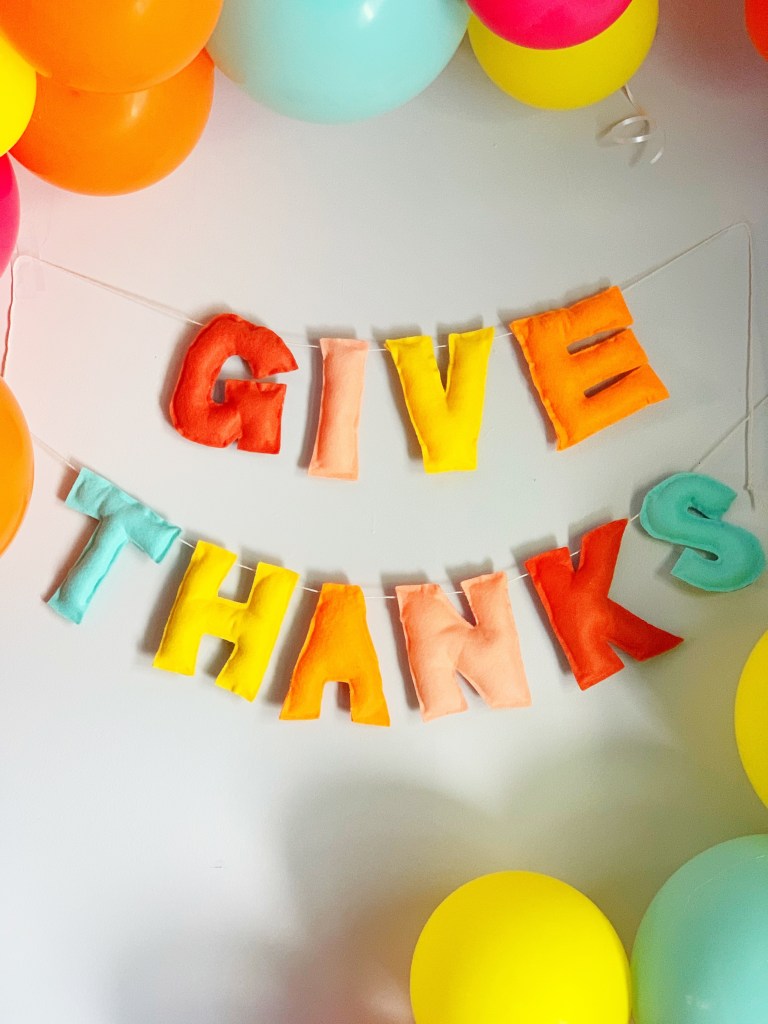

I feel like Thanksgiving is one of the most underrated holidays and is overlooked each year. But it shouldn’t be! Thanksgiving is about family, community and new friendships! I decided I wanted to make something to help celebrate this special day- and that’s where this garland idea comes in!

No-Sew Thanksgiving Garland
Supplies:
– Felt (in whatever colors you’d like)
– Cotton Batting
– Hot Glue Gun/Glue Sticks
– Scissors
– Marker/Pen
– Ruler
– String
Instructions:
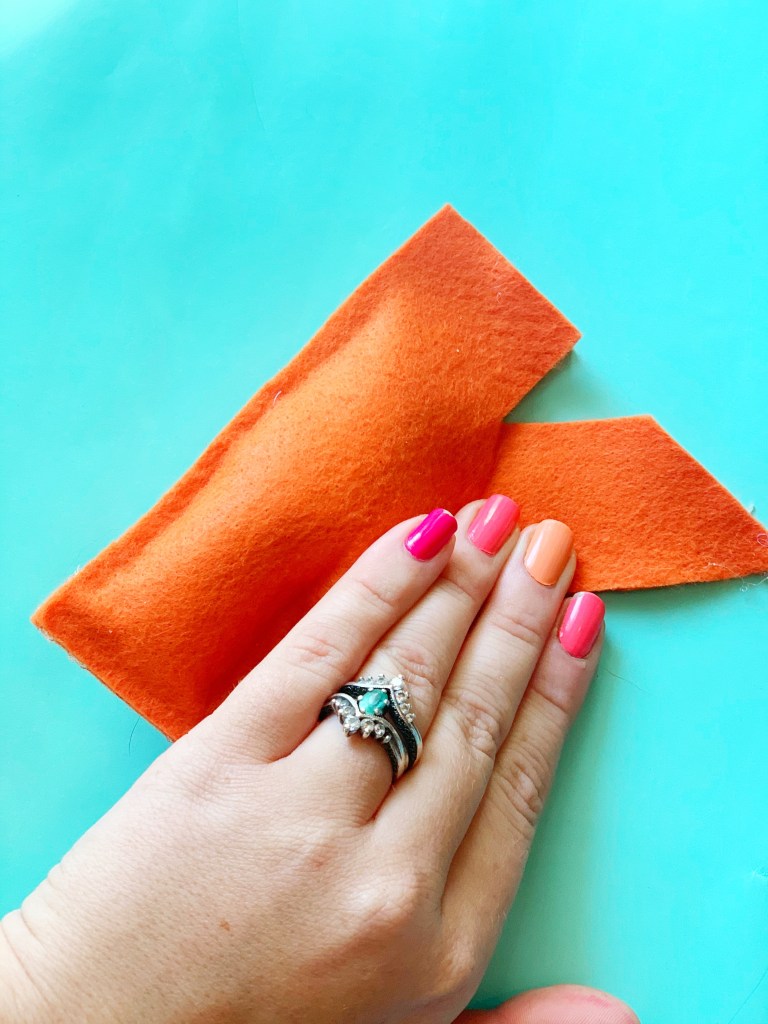
1.) Decide on the quote you would like to display, draw and cut out your letters from your felt. You can use a stencil or ruler for each letter to insure they are the same size, or you can freehand it. Remember, you will need to cut out double of the amount of letters in your quote. What I mean by this is, for each letter in your quote you will need two exact cuts. Because each letter will need a front and back with space to fill between.
2.) After your letter pieces have been cut out, you will need to glue the copies together- but not all the way! Take one of your letter cut-outs, and glue around 2/3 of the parameter. Take your copy of the letter and lay it on the glue to glue the pieces together exactly. You will have an opening with that remaining 1/3 that you did not glue and that is where we will fill the letter with the batting.
3.) Through the small opening you left, insert a little piece of batting at a time. I used a pencil to help push my batting down as far as it would go and to help spread it out. Make sure there is enough batting throughout that way the letters are nice and full. But not too much that they will pop open at the seams. Once you have filled each letter to your liking, take your hot glue gun and glue the remaining opening together, closing it completely.
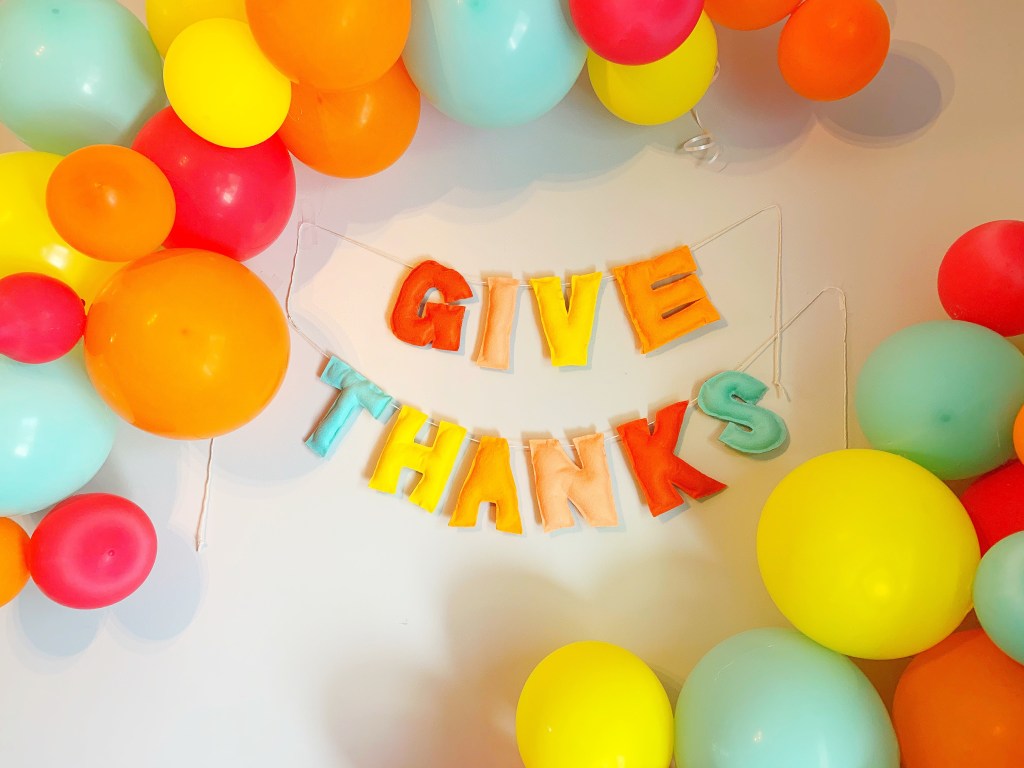
4.) Once all your letters have been fully filled and closed shut, it’s time to string them together! Line up your letters, take your string and glue directly to the back of the letters. (You are also able to sew the string through the letters to connect them, but since I made this a no-sew DIY I thought I would keep with that!)
5.) Allow to dry completely, then hang and enjoy!
AUBURNARTISAN.COM
How To:


I am all about DIY decorations, but I am also all about decorations that I can use year after year, and this garland is perfect for that!
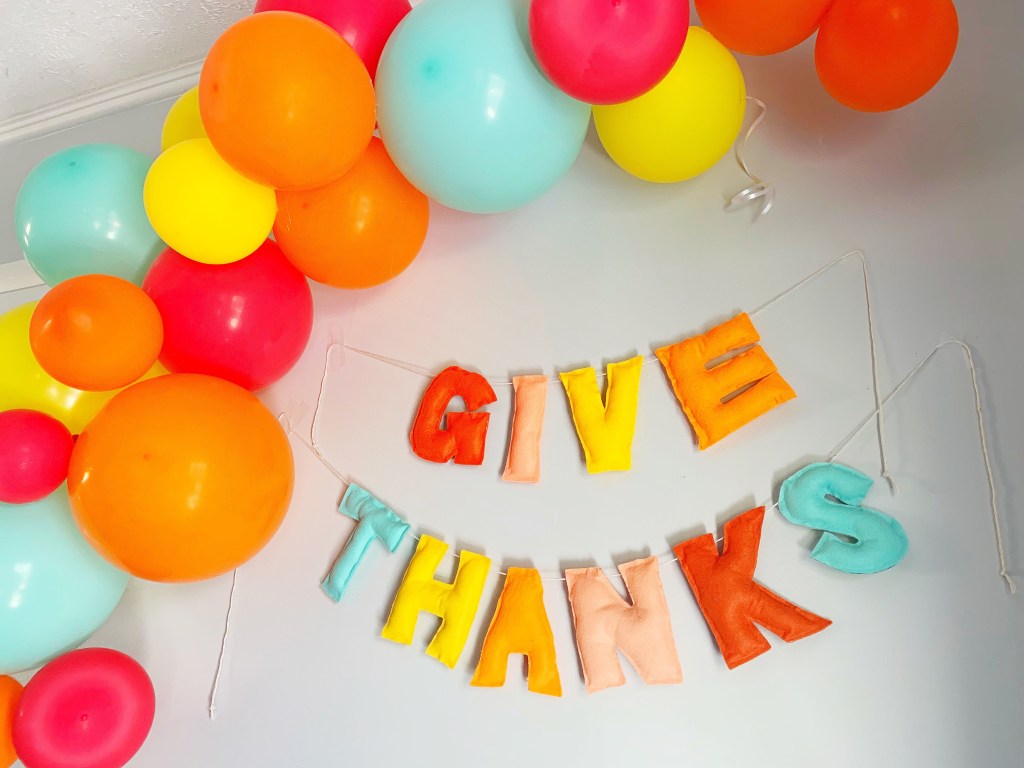

P.S. I have decided that these colors are my new “Fall color scheme”. I actually put these balloons together for a family event and loved the colors so much that I decided to use them as inspiration for this DIY!