

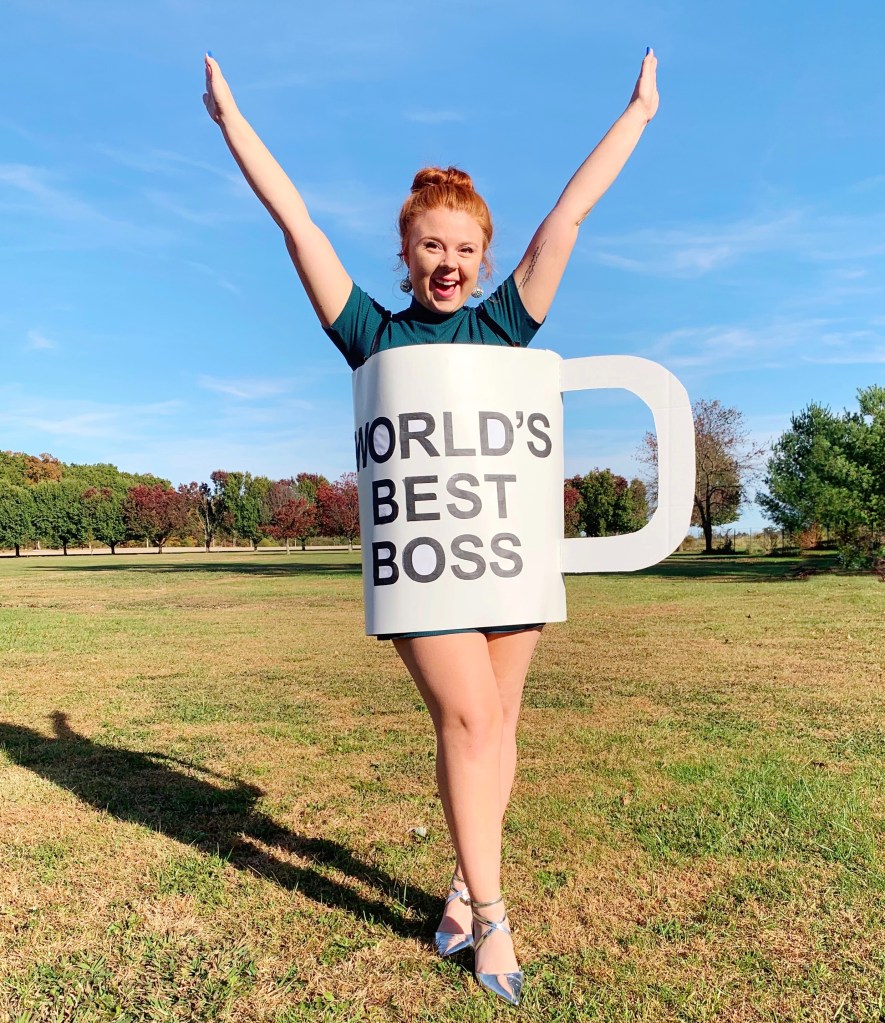
For all my The Office fanatics, now you can have your very own “World’s Best Boss” mug! And it’s a costume?! Michael Scott ain’t got nothin’ on you! This costume is soooo simple and honestly took me only about 30 mins altogether (aside from paint dry-time). Check out how to make this super easy, super cute costume for yourself!
To be completely honest, I had no plans to make this costume! But when another costume went awry and I was unable to use the materials I bought for it the way I had planned, I came up with this costume! I thought that was a win!
For those of you that have followed along with my shenanigans for some time now already know I am the world’s biggest The Office fan! I have re-watched series over and over countless times and even traveled to Scranton, PA to visit all the places that the show has referenced.

Not only am I a huge The Office fan, I am also a huge fan of Michael’s infamous “World’s Best Boss” mug! So much so, that I have an image of it tattooed on my ankle #megafan
So when I randomly came up with this idea I was soooo excited and jumped on it right away!
World's Best Boss Mug Costume
Supplies:
– 2 sheets of Plastic Poster Board
– Cardboard/White Foam Board
– Printed Letters/Letter Stickers
– Hot Glue Gun/Glue
– Scissors/X-Acto Knife
– Tape
– White Ribbon
– Black Paint*
– White Paint *
– Paintbrush *
*Optional Items
Instructions:
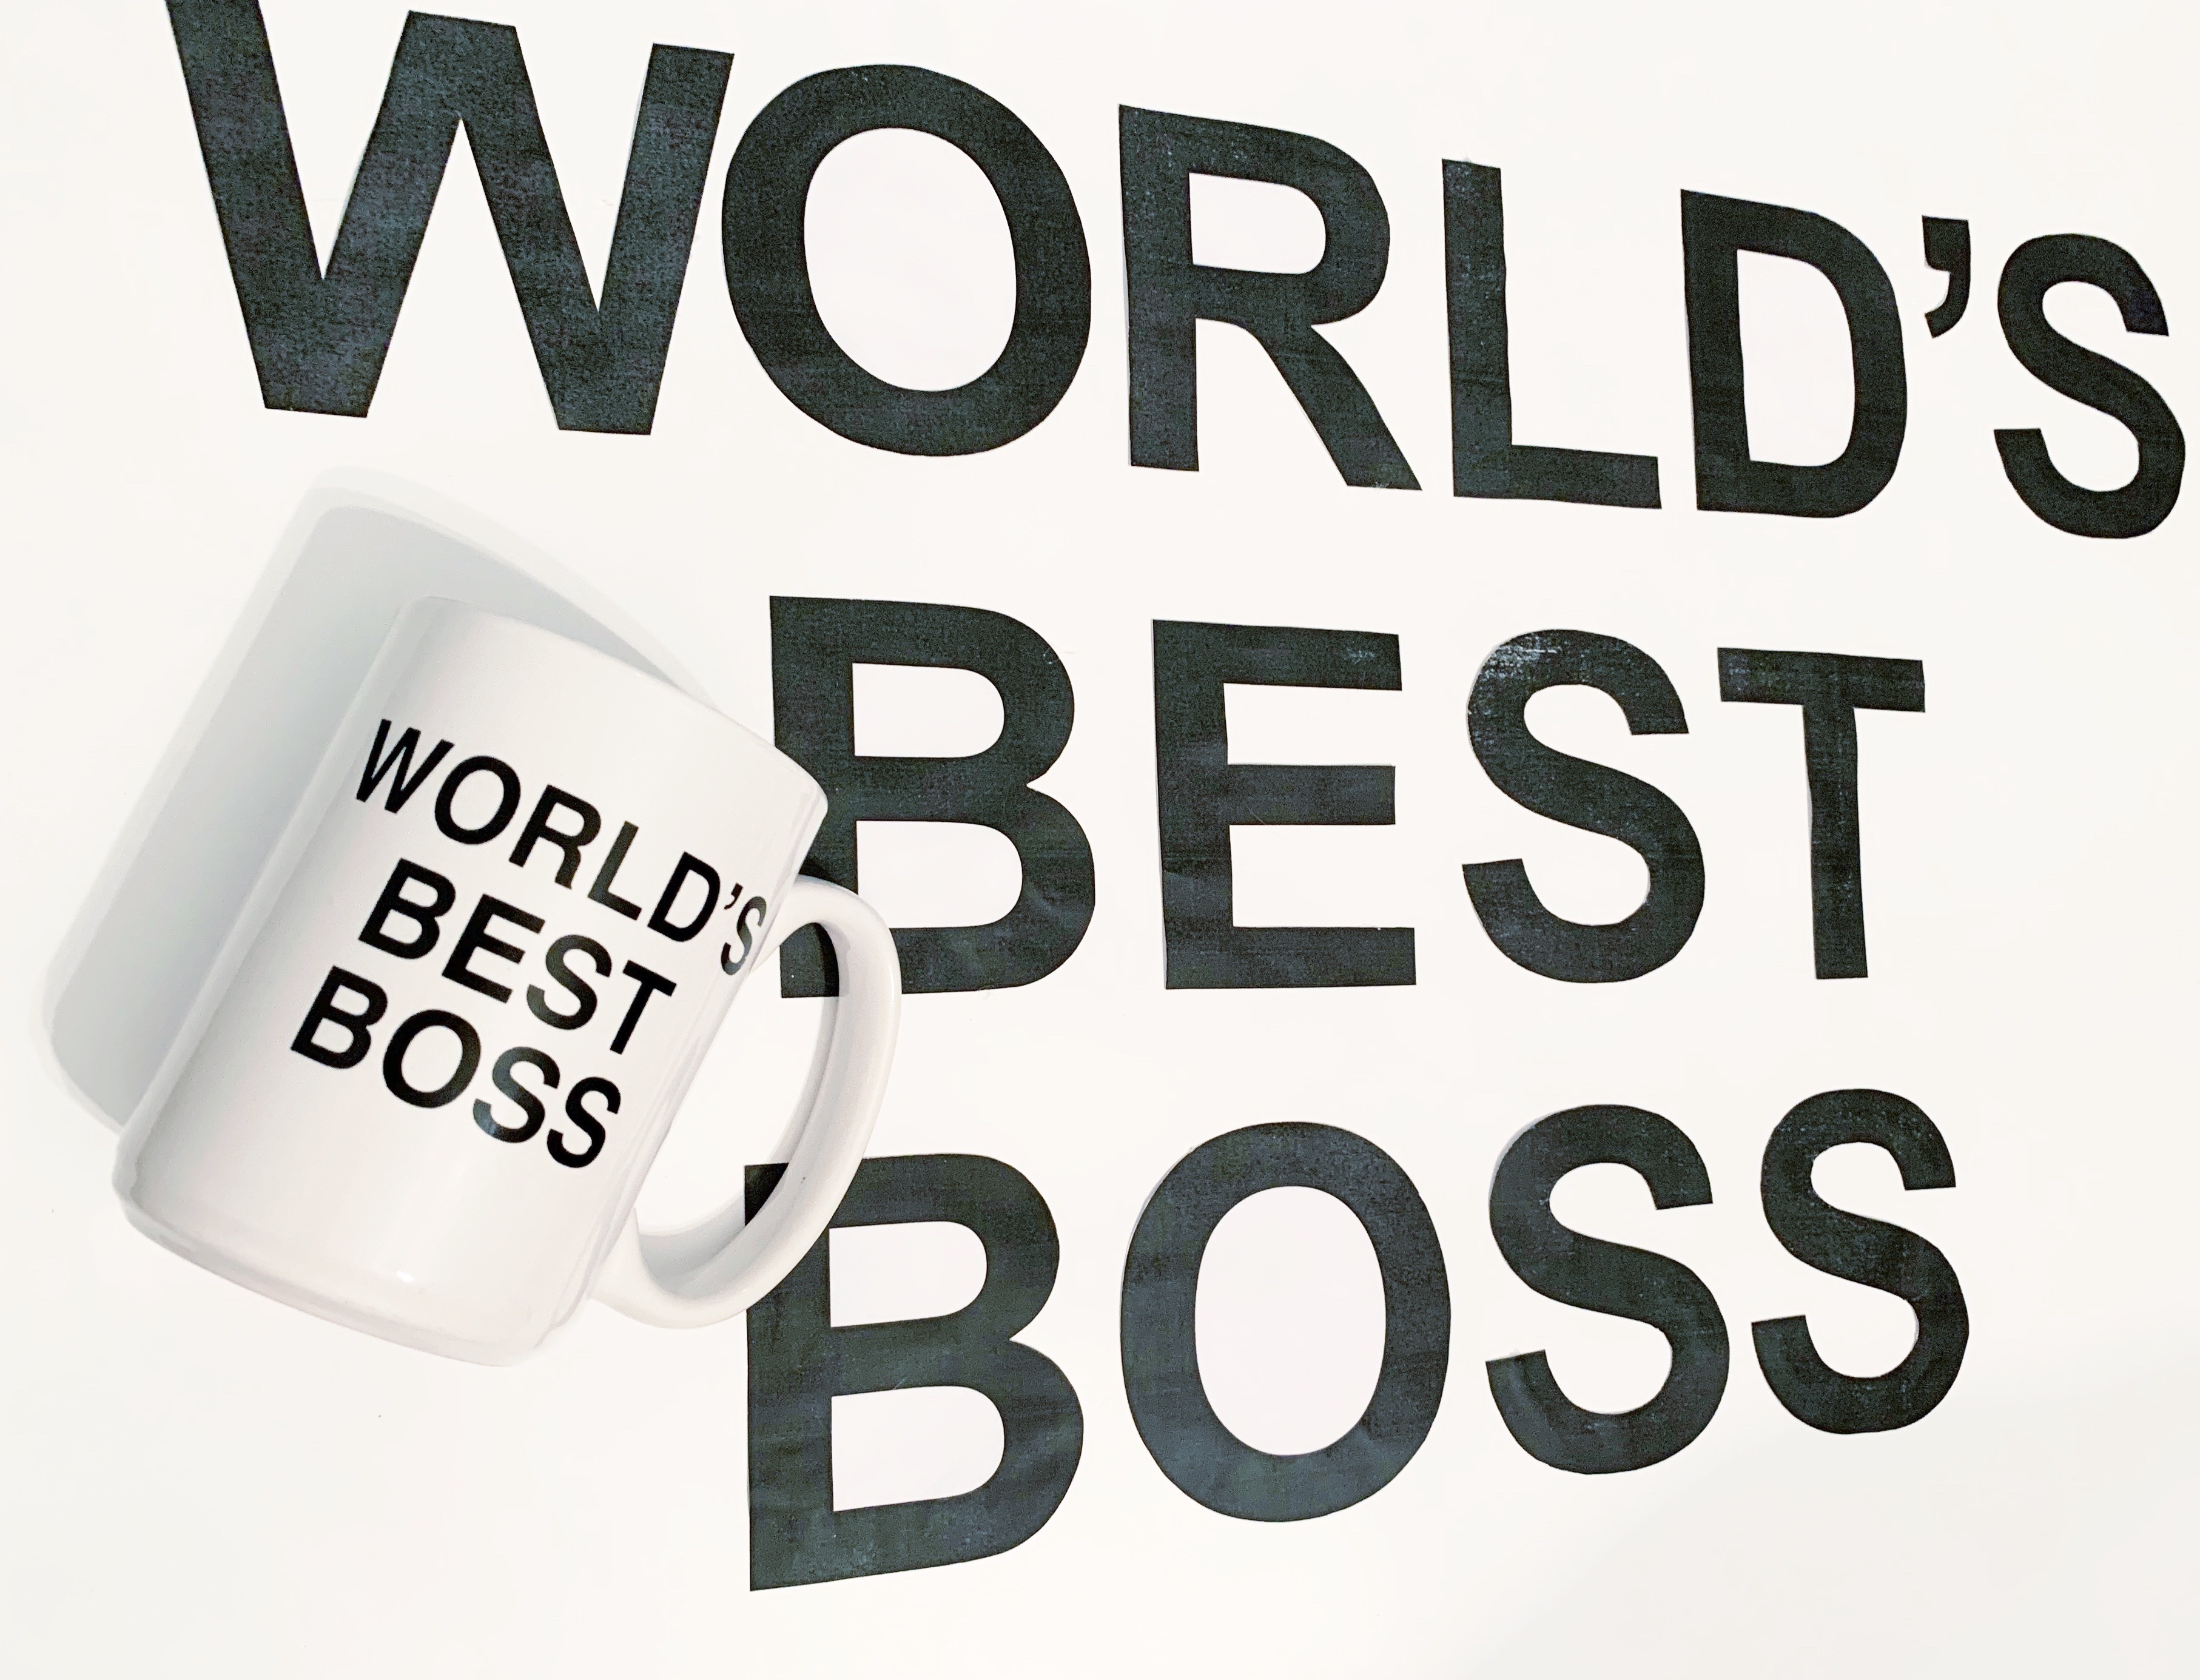
1.) First you will need to determine how you would like to complete the lettering for the mug. I printed out my letters off the computer and cut them out from the printer paper. If you do this, for accuracy, make sure to use Arial Bold for the font, and to make the letters 350 point font so they print out the same size as mine. After I had the letters printed, and individually cut from the paper I made sure to lie out the letters in the exact spot I wanted them before permanently placing them. Once I had my perfect placement, I went ahead and hot glued each letter down to the paper board.
Another option would be to buy pre-made letter stickers. Your local craft store will have these in a variety of fonts and sizes. Just make sure you get a font large enough and similar enough to the font I used so it looks authentic. Just like my letters, make sure you allocate where each letter will permanently be placed before sticking them down.
Lastly, you could either trace the letters/freeform the letters onto your board and paint them in by hand. I originally thought about doing this, but I wanted to make sure the font was spot on from the original mug, and I worried that if I free-handed it, it wouldn’t look as good. But if you have the confidence, go for it! Just make sure to paint the letters black.
2.) Once your letters are placed and the glue/paint is dry on one of your plastic poster board sheet, take your other sheet and tape them together overlapping the seams slightly. Do this one more time to create a fully enclosed cylinder.
3.) Now that you have your cylinder, it’s time to attach the straps. Lift the cylinder up in the placement you would like it to sit on your body when you wear it. Once you have determined the placement, measure out the amount of ribbon you will need to make straps on both sides of the cylinder. Cut out straps from the ribbon and tape and/or glue the straps onto the inside of the cylinder.
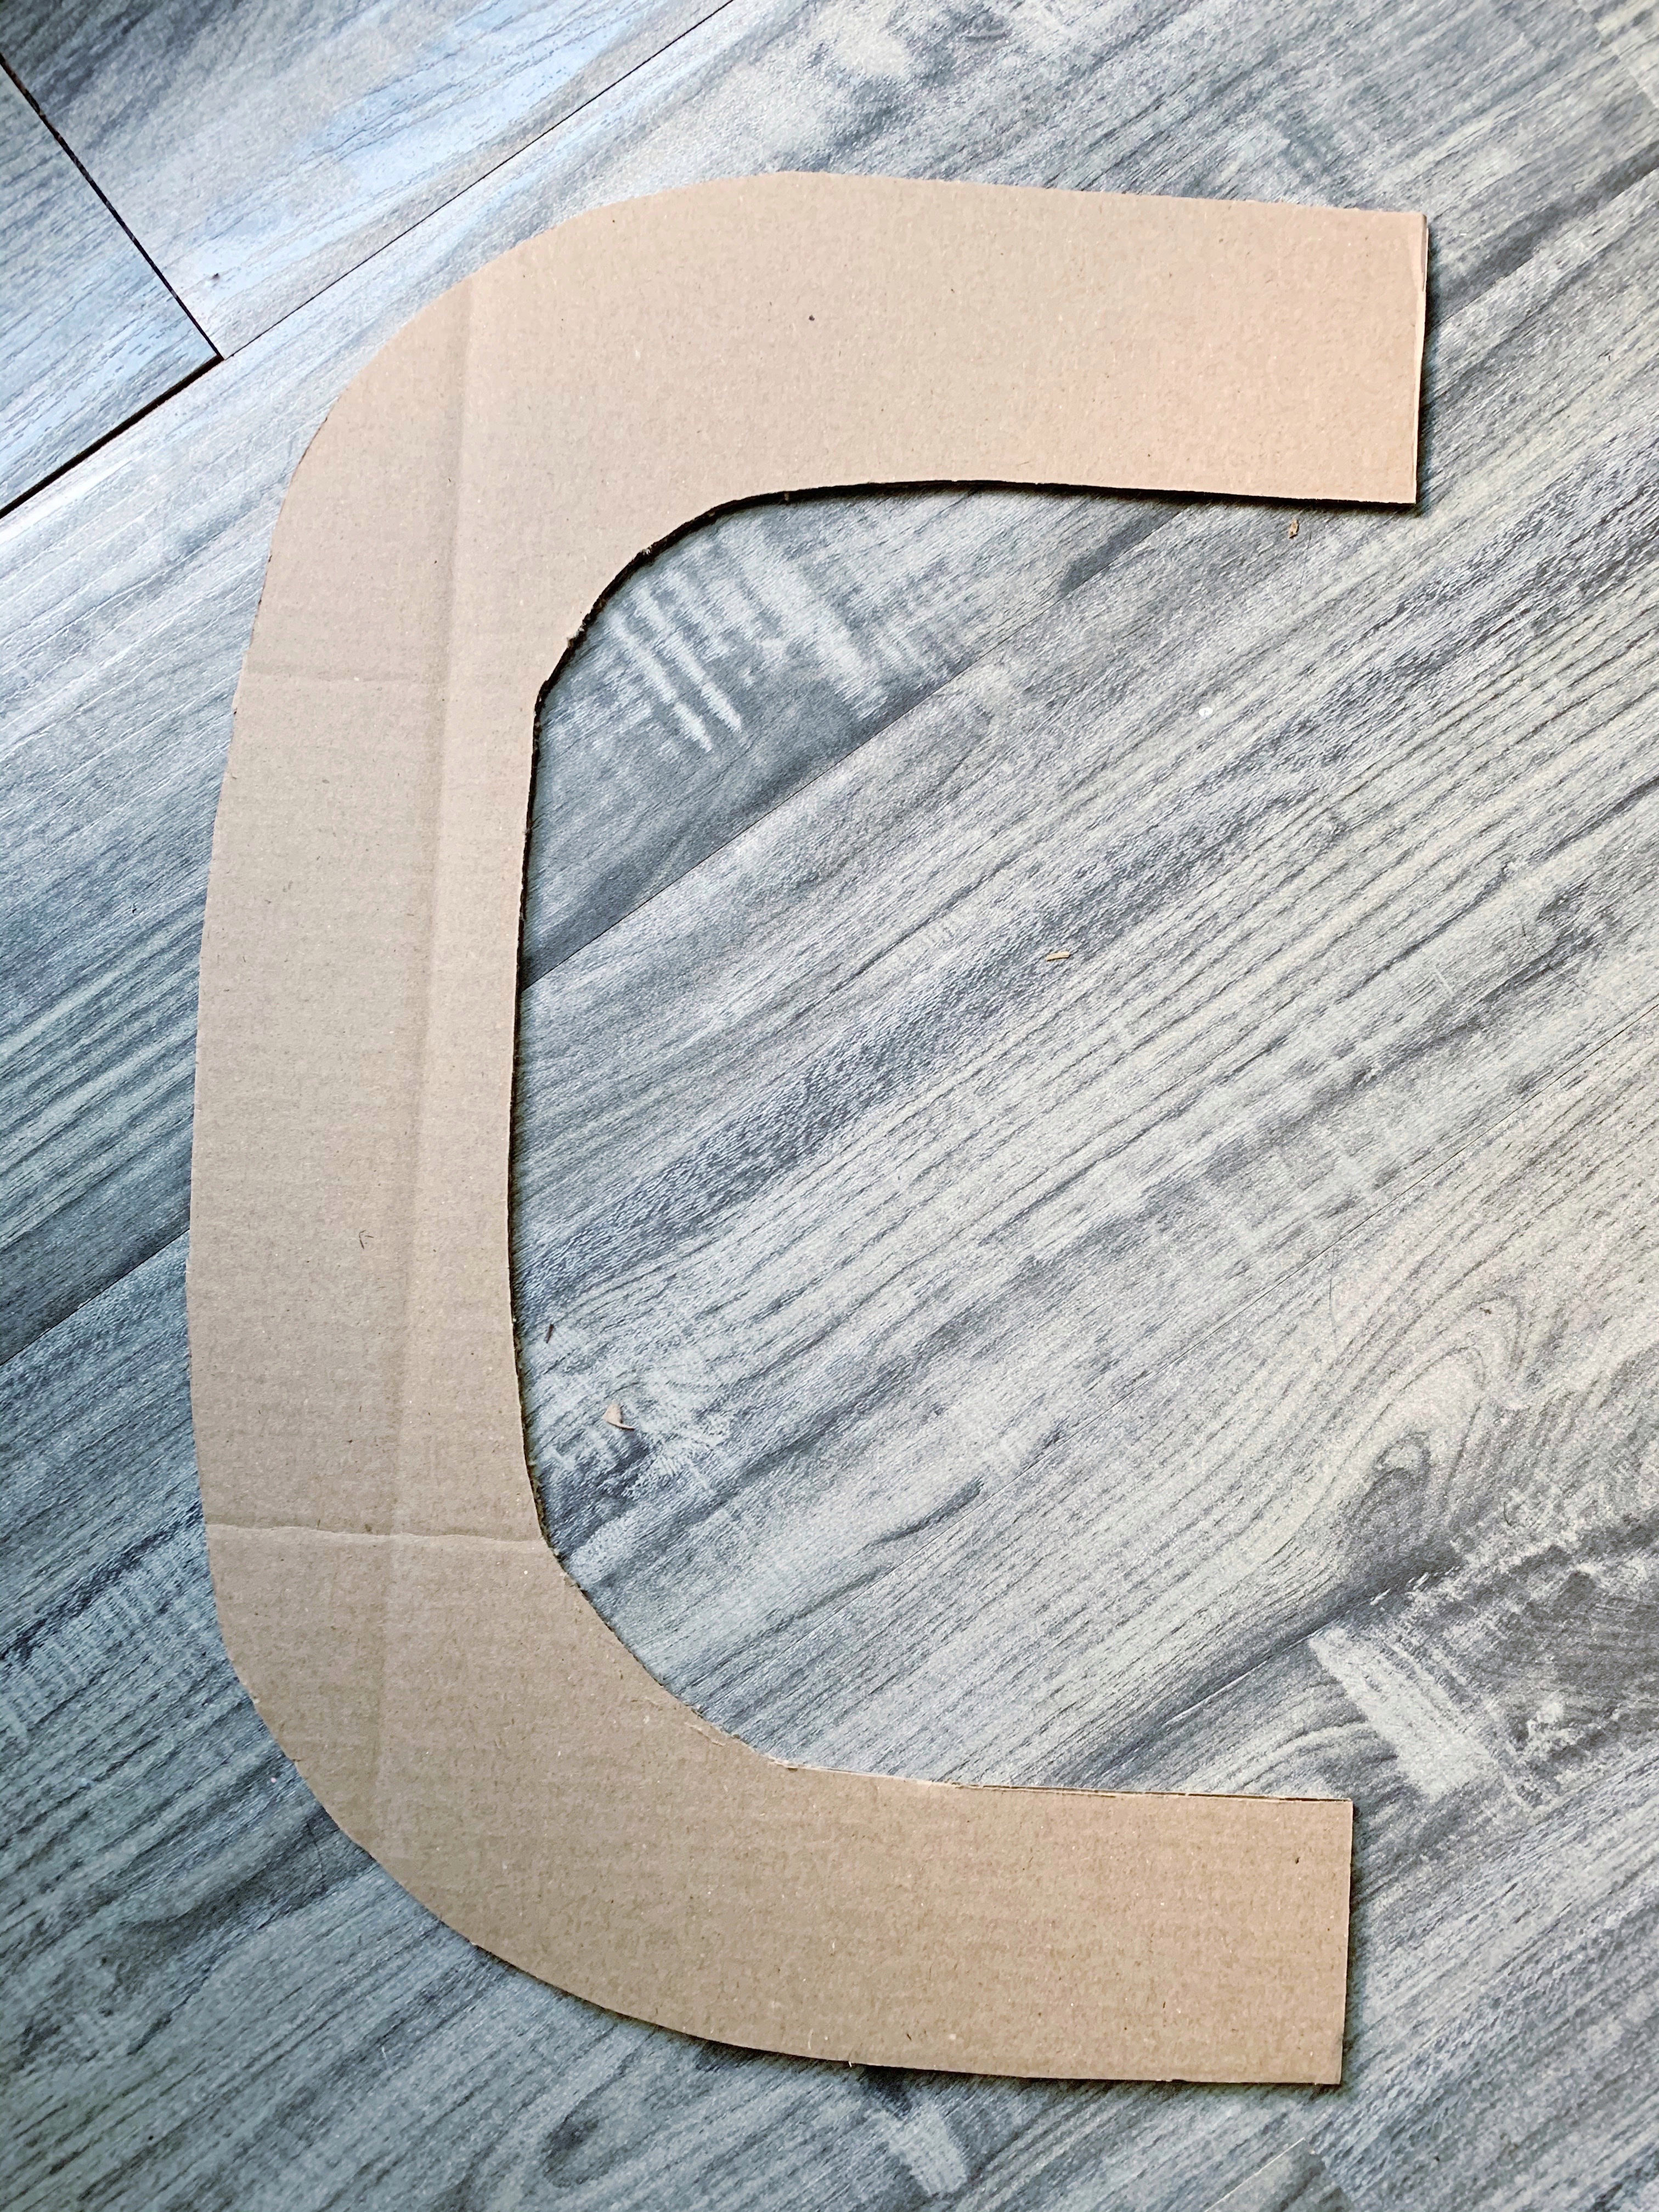
4.)For the handle, cut out a C-shape from your cardboard/foam board. If you opted for white foam board, you are finished with the handle! If you used cardboard like I did, just make sure to paint both sides white after cutting. Allow to dry completely.
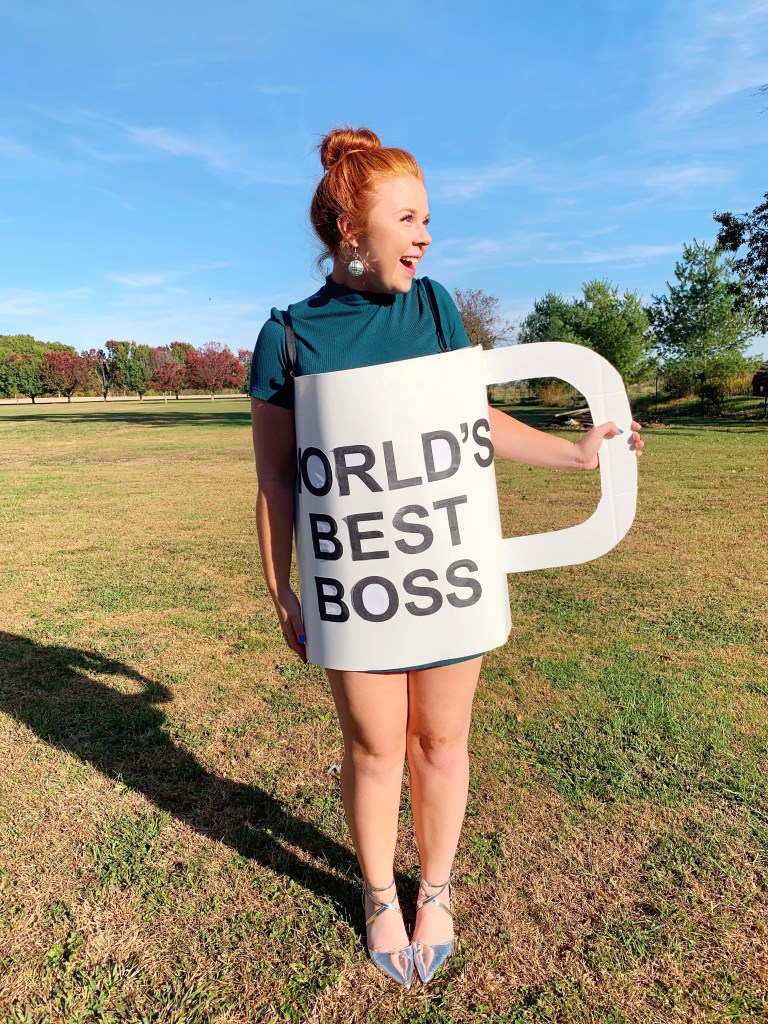
5.) Hot-glue the handle to the side of mug. Make sure to place it a little toward the front side (by the letters) of the mug so that you arm has a place to relax by your side.
AUBURNARTISAN.COM


The Office not your thing? You can still use these instructions to make your very own mug costume as well!


