
 What time of the year do we enjoy the most candy? Halloween! So what better way to throw more candy into the mix than to make a piñata FULL of candy that looks like a piece of candy itself?! You really can never have enough candy at Halloween! (Though Doctor’s may disagree) Either way you look at it, you can’t deny how cute this little piñata is! And now I am going to show you just how you can make one of your own!
Since this piñata is a little simpler than my Watermelon Piñata I did not add in as many descriptive step by step details. If you need a little extra help creating this piñata, go ahead and take a look at my Watermelon DIY post.
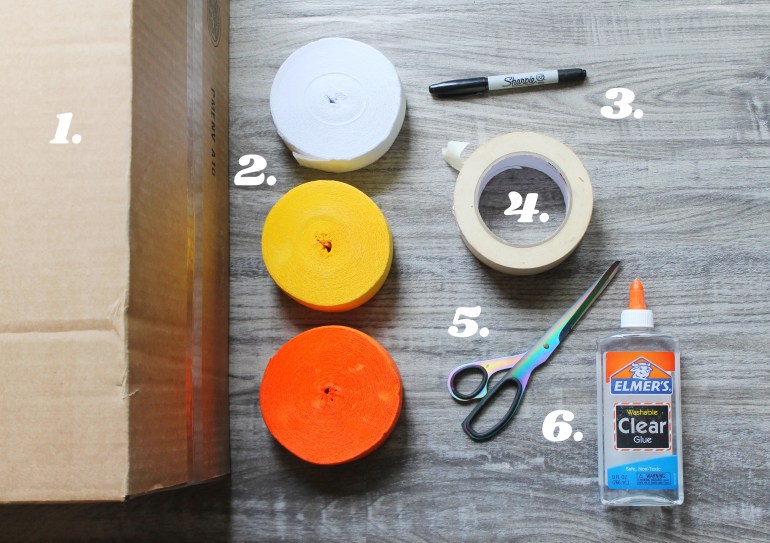
Supplies:
- Cardboard box (whatever size you like)
- Crepe paper/tissue paper/streamers (Orange, Yellow and White)
- Marker
- Tape
- Scissors
- Glue
*Misc supplies: Pencil, Ruler*
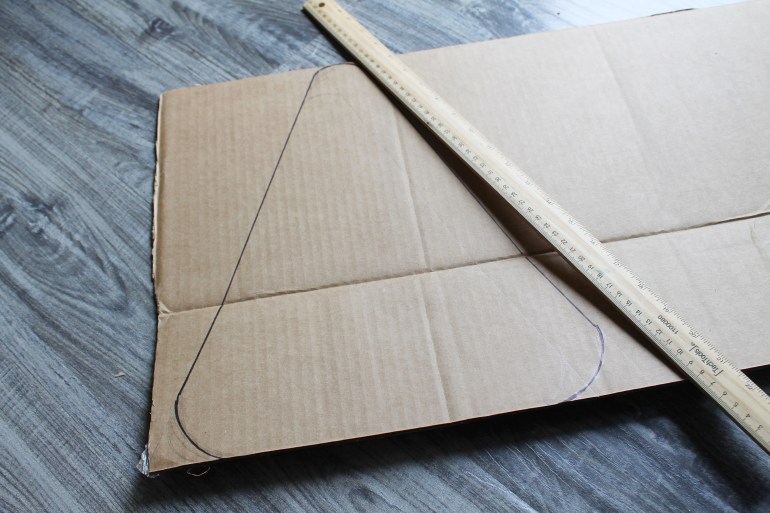
Step 1: Sketch out the shape! Candy corn are basically just isosceles triangles with rounded corners. So, I took a ruler and measured out the size triangle I was wanting for the piñata. I drew the straight triangle outline first with a pencil because I knew I was going to round the edges. When your basic triangle shape is drawn, go ahead and round the corners. You can use something round as a stencil, or you can free-hand it (which I did). Once I sketched over the sharp corners with a rounded edge, I used a permanent marker to trace the entire outline so I knew exactly where to cut.
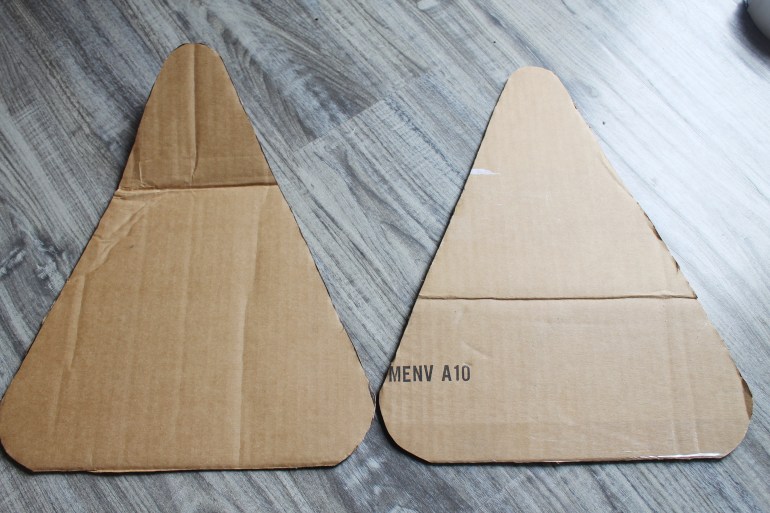
Step 2: Cut out the shape! After you have sketched your perfect shape, cut it out. You will also need an identical piece of cardboard for the back of the piñata. To make a duplicate piece trace your newly cut out candy corn shape on top of another piece of cardboard. Once you have traced around the entire shape go ahead and cut that shape out as well.
You will also have to cut out straight pieces as sides. (Not pictured) At this point you can determine how thick or thin you would like your piñata to be. Just make sure all side pieces are the same size so your piñata is even.
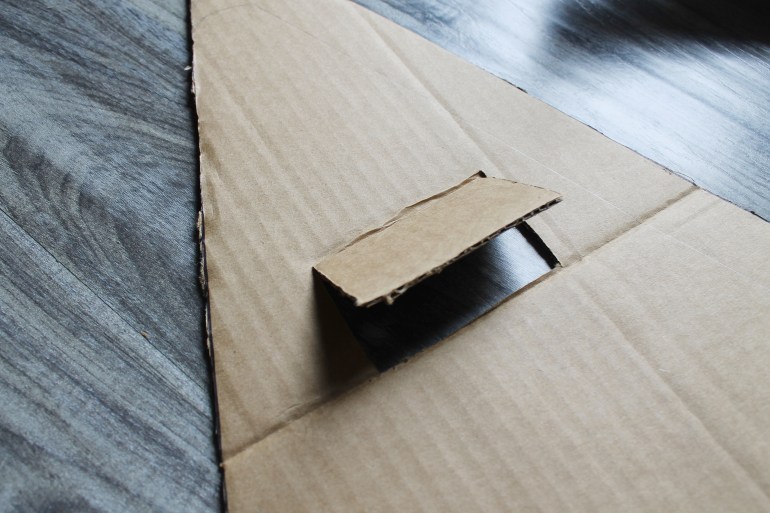
Step 3: Don’t forget to cut out a little “door” so you can fill your piñata with your favorite Candy!
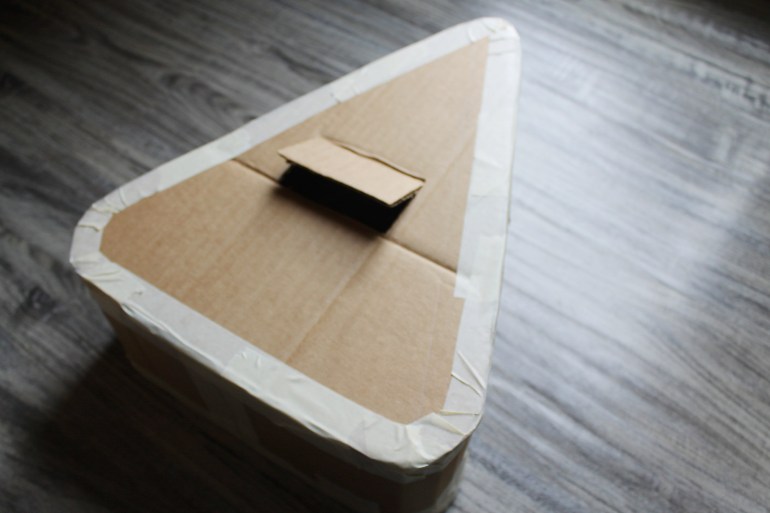
Step 4: Tape up all sides so that you have a 3D shape. I taped the inside and outside so that it was extra strong.
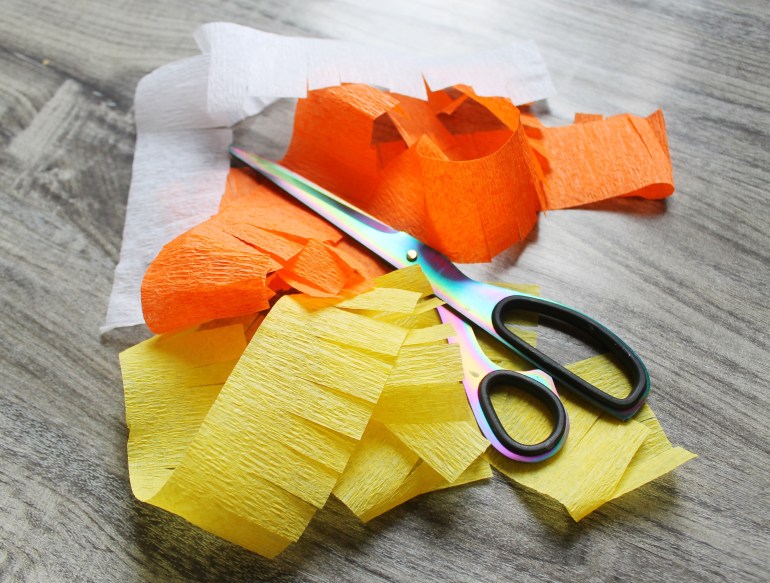
Step 5: Fringe the crepe/tissue/streamer paper so that it adds dimension to the piñata.
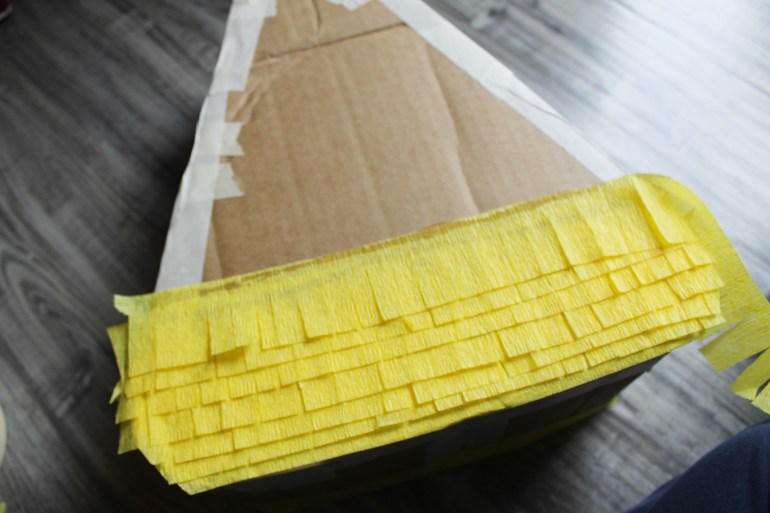
Step 6: Start gluing down the yellow fringed paper. Always start at the bottom when you are layering! It makes for a much cleaner execution. Draw a thin strip of glue on the cardboard and paste the yellow fringe. Make sure each layer is a little higher than the last so that it covers all the glue marks and it makes the piñata look nice and full. I tried to make each of my layers around 3/4 inch apart from each other. Continue the yellow fringe about 1/4 – 1/3 of the way up the candy corn.

Step 7: Now it is time to start the orange fringe! Continue layering the orange fringe for another 1/3rd of the candy corn.
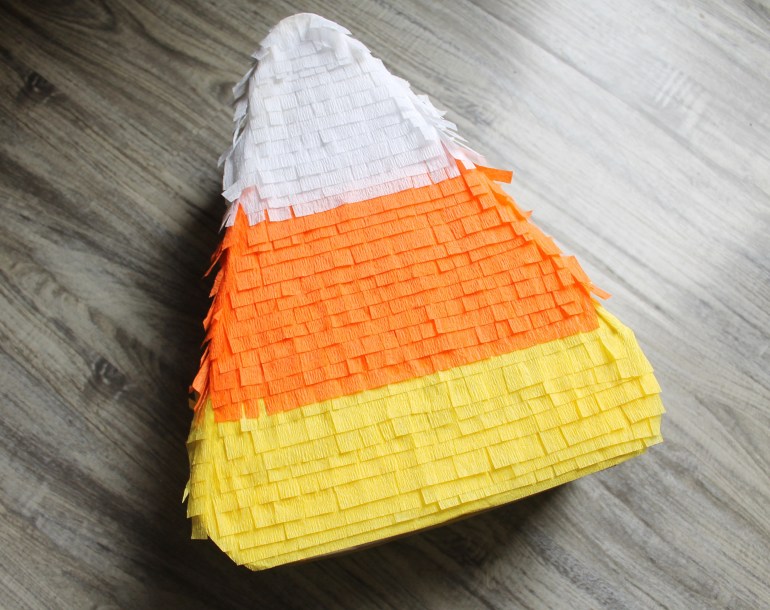
Step 8: Now it is time to apply the finishing white fringe! This layer will finish off the piñata and go all the way to the top.
Step 9: Continue the same fringe pattern around the remainder of the piñata so that all sides are covered!
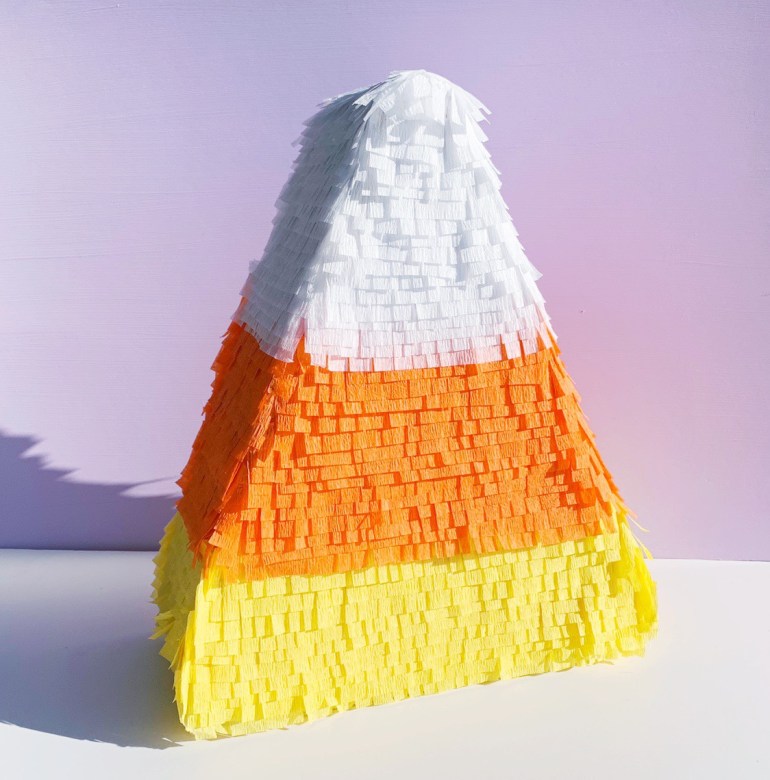
Step 10: Voila! Now you have the cutest little candy corn piñata! Use it as decoration, smash it, play games with it – do whatever you like! Possibilities are endless!

It never occurred to me that I could make my own piñata. I used your instructions to make a “Burt the Bashful” piñata for my son’s Yoshi’s Woolley World Party!! It came out SUPER cute!! Thank you for the idea!
LikeLiked by 1 person
You have no idea how happy that makes me so happy!!!! I’m sure it was perfect!!! Thanks for following along! ❤️
LikeLike