
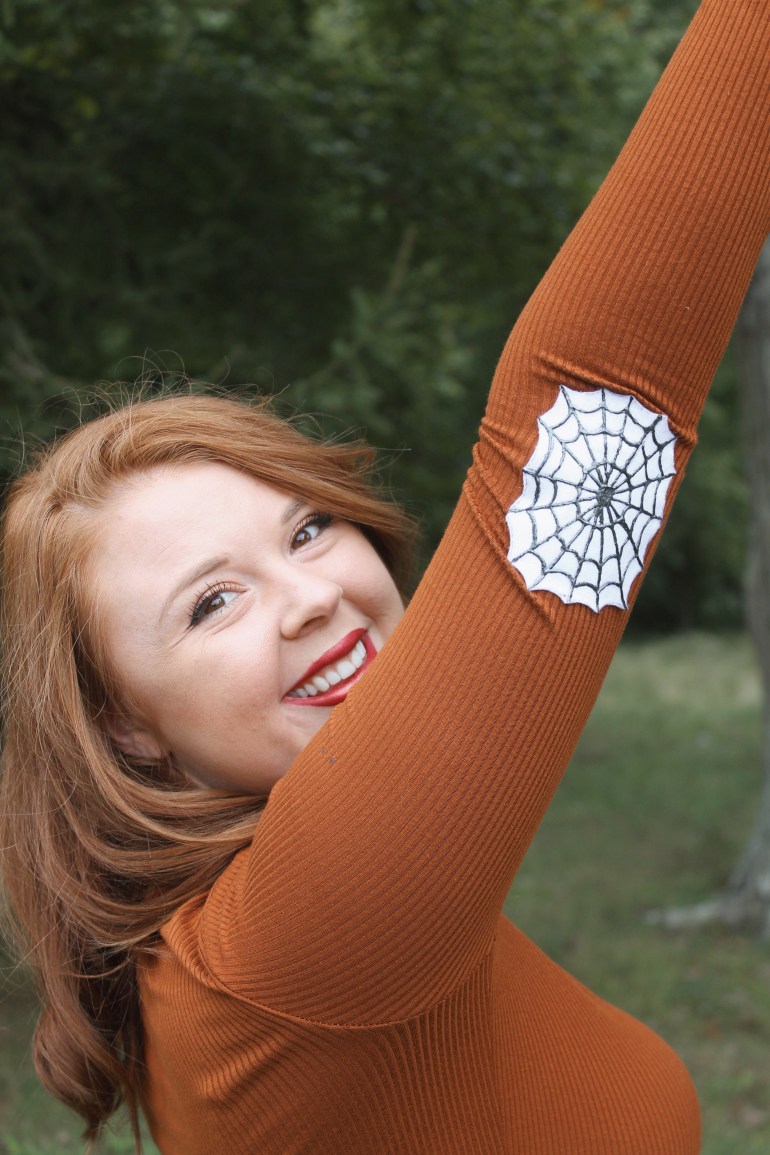
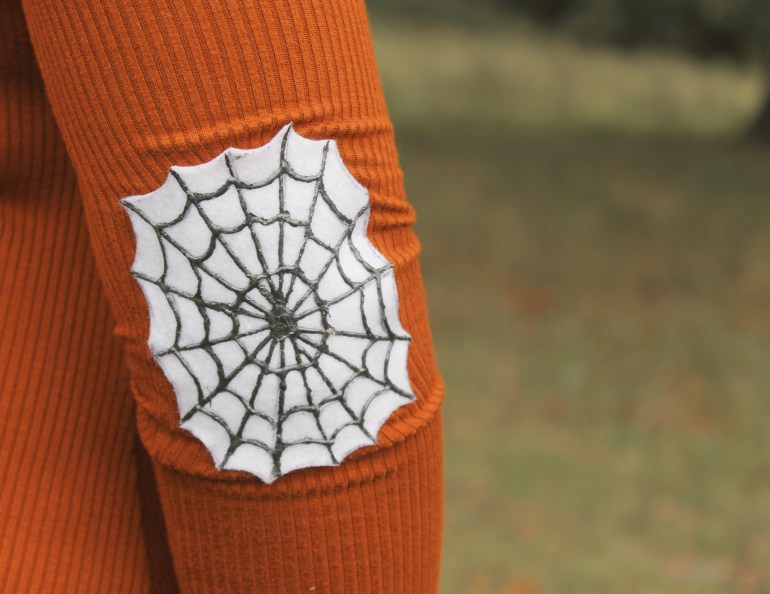
Halloween is only a few days away, but you still have plenty of time to recreate this DIY! I just had to share this project with you because it is so much fun and easy! DIY spider web elbow patches!!! Eeeekkk!
Halloween costumes are so much fun to make each and every year, but odd’s are, you won’t get to wear your costume actually on Halloween (for example this year Halloween is on a Wednesday). So that means you just have to dress normal on the actual Holiday.
OR DO YOU?!
Not anymore! With this adorable DIY you can make a festive Halloween outfit without being too in-your-face holiday tacky! (Although I am in total support of entirely tacky outfits too) I am pretty sure I am going to make this dress with the elbow patches my traditional Halloween dress each year! Which makes me want to make a traditional outfit for each Holiday… hmmm… 😉
This DIY is also great for those who don’t like to get dressed up with large extravagant costumes for parties as well! Such a cute minimalistic festive look!
Fashion Tip: If you pair a cute spider necklace or earrings with this look it would be beyond adorable!
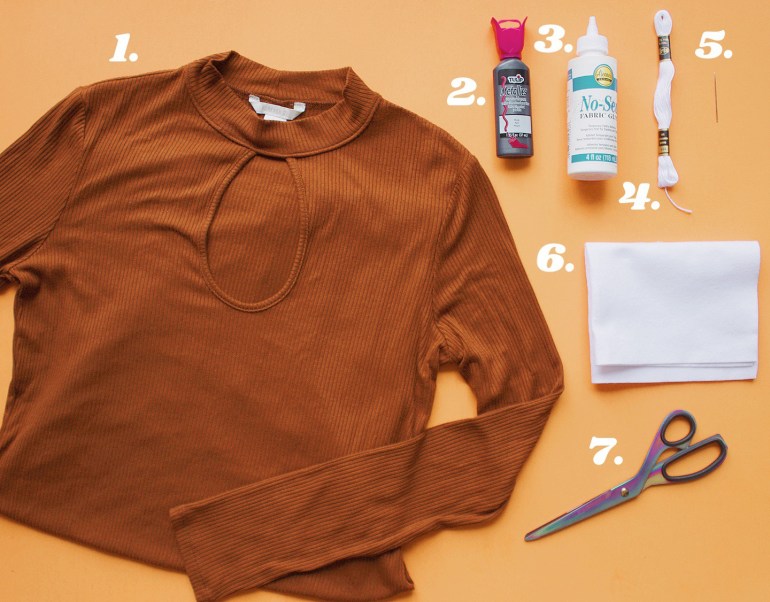
Supplies:
- Piece of clothing (This can be a sweater, shirt, cardigan, whatever you like! Just must have long sleeves. I actually used a dress)
- Fabric Paint (Black)
- Fabric Glue*
- Thread*
- Needle*
- Felt (White)
- Scissors
Misc Supplies: Marker
* Indicates optional steps. You can glue down the patch, sew it in or do both. Entirely up to you. I glued them on.

Step 1: Examine the sleeve on your piece of clothing to determine the dimensions that you would prefer each patch to be. I made both of mine 3″ x 4″.
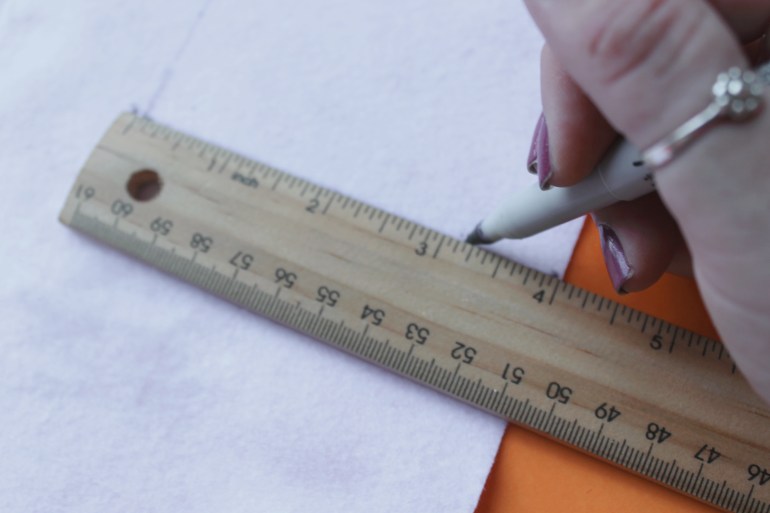
Step 2: Using your fine tip marker and a ruler, trace out a rectangle in the measurements that you determined in step 1 onto the piece of white felt. You will need to do this two times; one for each sleeve.

Step 3: Cut out the rectangles you just sketched.
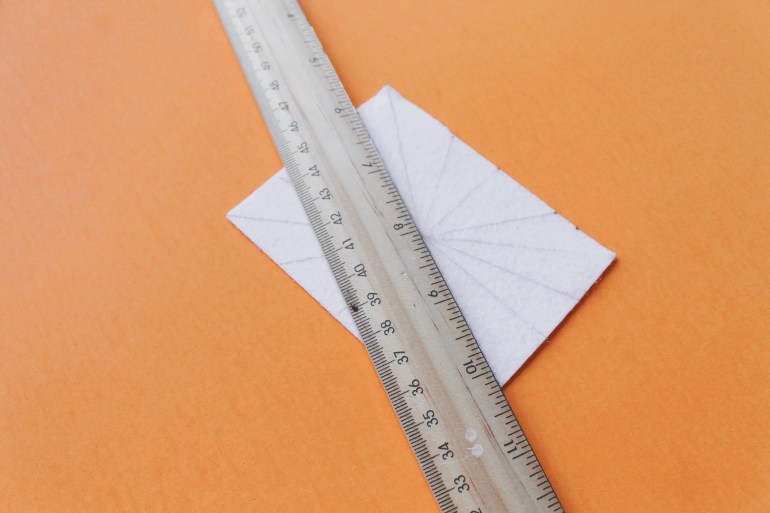
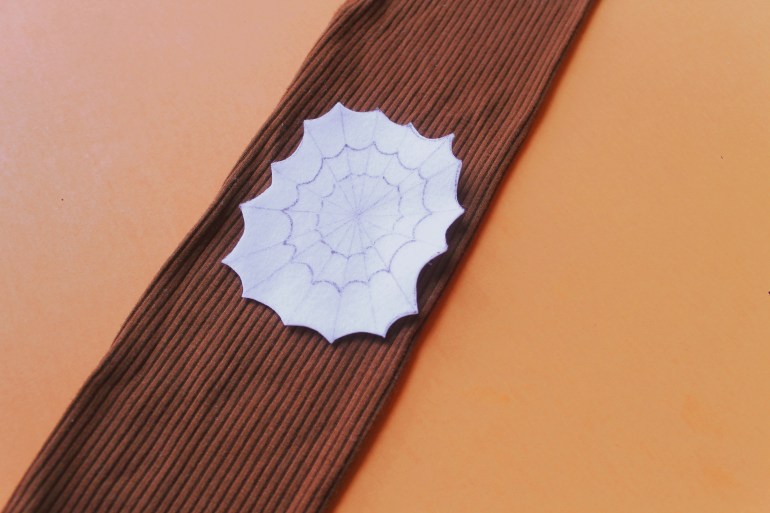
Step 4: Now it is time to make the outlines for your web! Take a ruler and your marker and make a line connecting opposite corners on the felt. Do this same process in the remaining two corners as well and it will make a large X on the felt. With the X you can now see where the middle point on the felt is and you can measure and plot all your lines from there. Just make sure all lines connect with the middle-most point of the X. Make as many or as few lines as you like! Just know that the more lines you make, the harder it may be to paint with the fabric paint.

Step 5: Now it is time to connect your lines to make it look like a spider web! What you will do is make a “bowed” line between the lines you just plotted out. Continue this type of line around the patch until the lines connect and make a “bowed” circle. Repeat this process as many times as you like! Again, the more you make the harder it may be to paint though.
Step 6: Cut out your spider web shape. I placed mine on my sleeve to make sure it was the perfect size before moving forward.
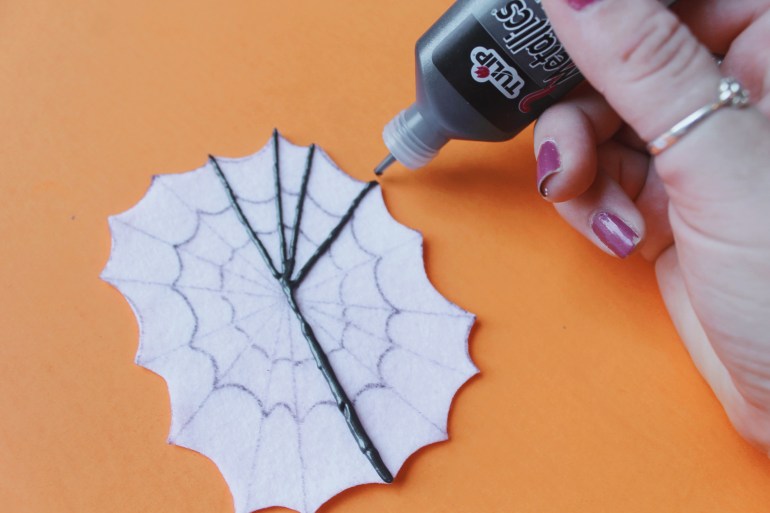
Step 7: Now it’s time for the fun part; the painting! I used a fabric paint that I could squeeze straight out of the bottle onto the felt, but you could also get paint that you have to use a paintbrush to put on. Totally up to you! I thought the handheld option was a little easier and it made for clearer, thicker lines. Just be warned that you have to be light-handed when using this paint! It is sooooo easy to pour out too much at a time! So if you are at all uncomfortable, I would advice that you use a practice piece to make sure you get the hang of it before working on your actual patches.
Once you are ready to paint all you do is simply follow the lines you plotted out for yourself!
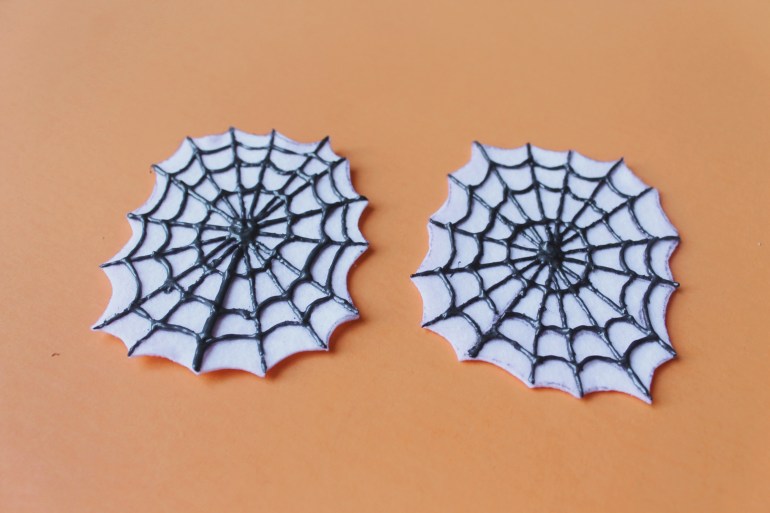
Step 8: Let them dry! This particular paint takes a while to dry since it is so thick. If you try touching it before its ready it may ruin your patches! So I would advise you step away and give it a good few hours to dry before continuing with the process.

Step 9: Decide where exactly you want the patches to be placed. What I did was put on the dress and arrange the sleeves exactly as I would wear them, and had a helper mark a little X where the tip of my elbow sits. This will be the middle-most point where the patch will be placed.
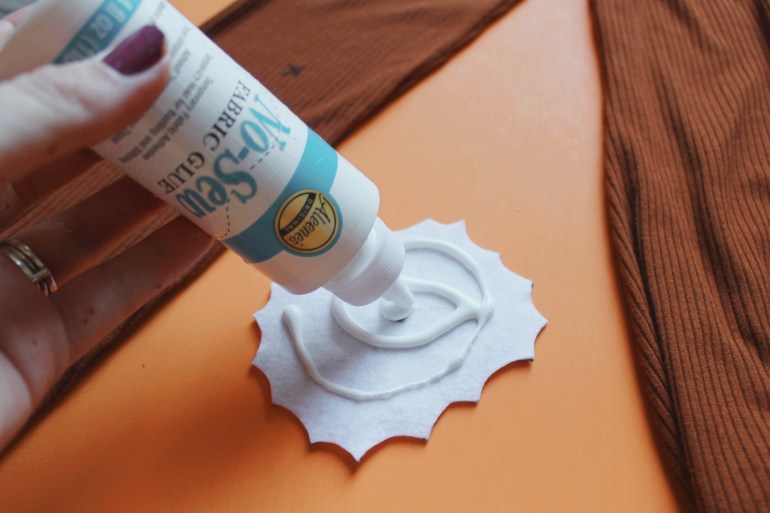
Step 10: This step is totally up to you! At this point the patches are dry and ready to be applied to the sleeves, so it’s up to you if you want to use fabric glue or sew them on. I chose to use the glue just because it seemed easier. But if you sew them on it would make the patches a little more permanent. If you so choose to do both, those patches will never come off! haha

Step 11: This extra step is for all you gluers! You now need to let the glue dry so that it adheres to the sleeves properly. I set mine aside over night to dry, and checked if there were any parts that needed to be glued down a bit more. Once the glue is completely dry you are free to rock your new elbow patches!!

Step 12: Rock those patches!!

Photography by Auburn Artisan

Oh he that’s cute! Great idea and tutorial 🙂
LikeLiked by 1 person
Thank you so much!! 🙂
LikeLiked by 1 person