
 It is officially the time of year for fruit flavored, colored and themed everything!! I have A LOT planned with fruit décor this summer (shhh) so these cute little planters fit in perfectly! Whether you actually like fruit or not is totally your opinion, but what I think we can all agree on is how cute, happy and sweet these planters are!
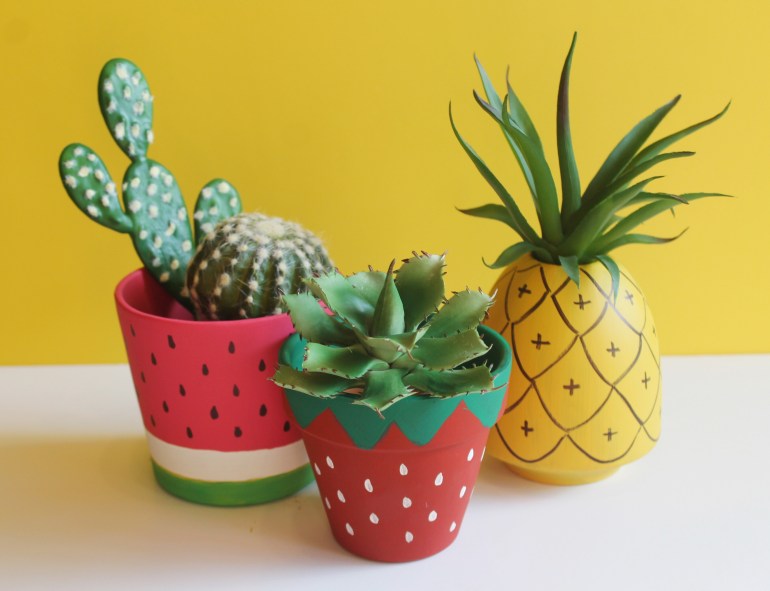
Today I am going to show you how to create your very own fruit planter so you can display it wherever you want to bring a bit of happiness to! On this post I am going to demonstrate how to create the watermelon planter!

Supplies:
- Acrylic paint
- Red/Pink
- White
- Green
- Black
- Plant (mine is fake, but you can use a real one)
- Sharpie
- Terracotta planter
- Pain brushes
- Tape
How To:


Step 1. To guarantee you have a straight starting point, use your tape to make a crisp line. You can make your “rind” as thin or as thick as you like. Just ensure the tape is equidistant from the bottom and tape around the circumference of the planter.


Step 2. Take your red/pink paint and paint from the tape up, completely covering the planter. Repeat if paint is thin. Allow paint to dry, and then remove the tape.


Step 3. To begin the rind of the watermelon you will need to follow the line the tape created and paint a white stripe.


Step 4. After the white stripe is dry, paint the very bottom of the planter green. I combined two different colors of green to make the rind look more realistic.


Step 5. In this step you can either use black paint or a sharpie to complete. I opted to use a sharpie since it is easier to control and will ensure a crisp “seed” shape. Draw as many seeds as you like! I drew mine in a tear-drop shape.

Step 6. Just add your plant, or in my case, FAUX plant to the planter and voila!
Planters and photography by Auburn Artisan
Well there you have it! The CUTEST summer planters! I would love to see yours if you decide to recreate these! And I would LOVE to see different fruit planter ideas!!

2 thoughts on “DIY Fruit Planters”