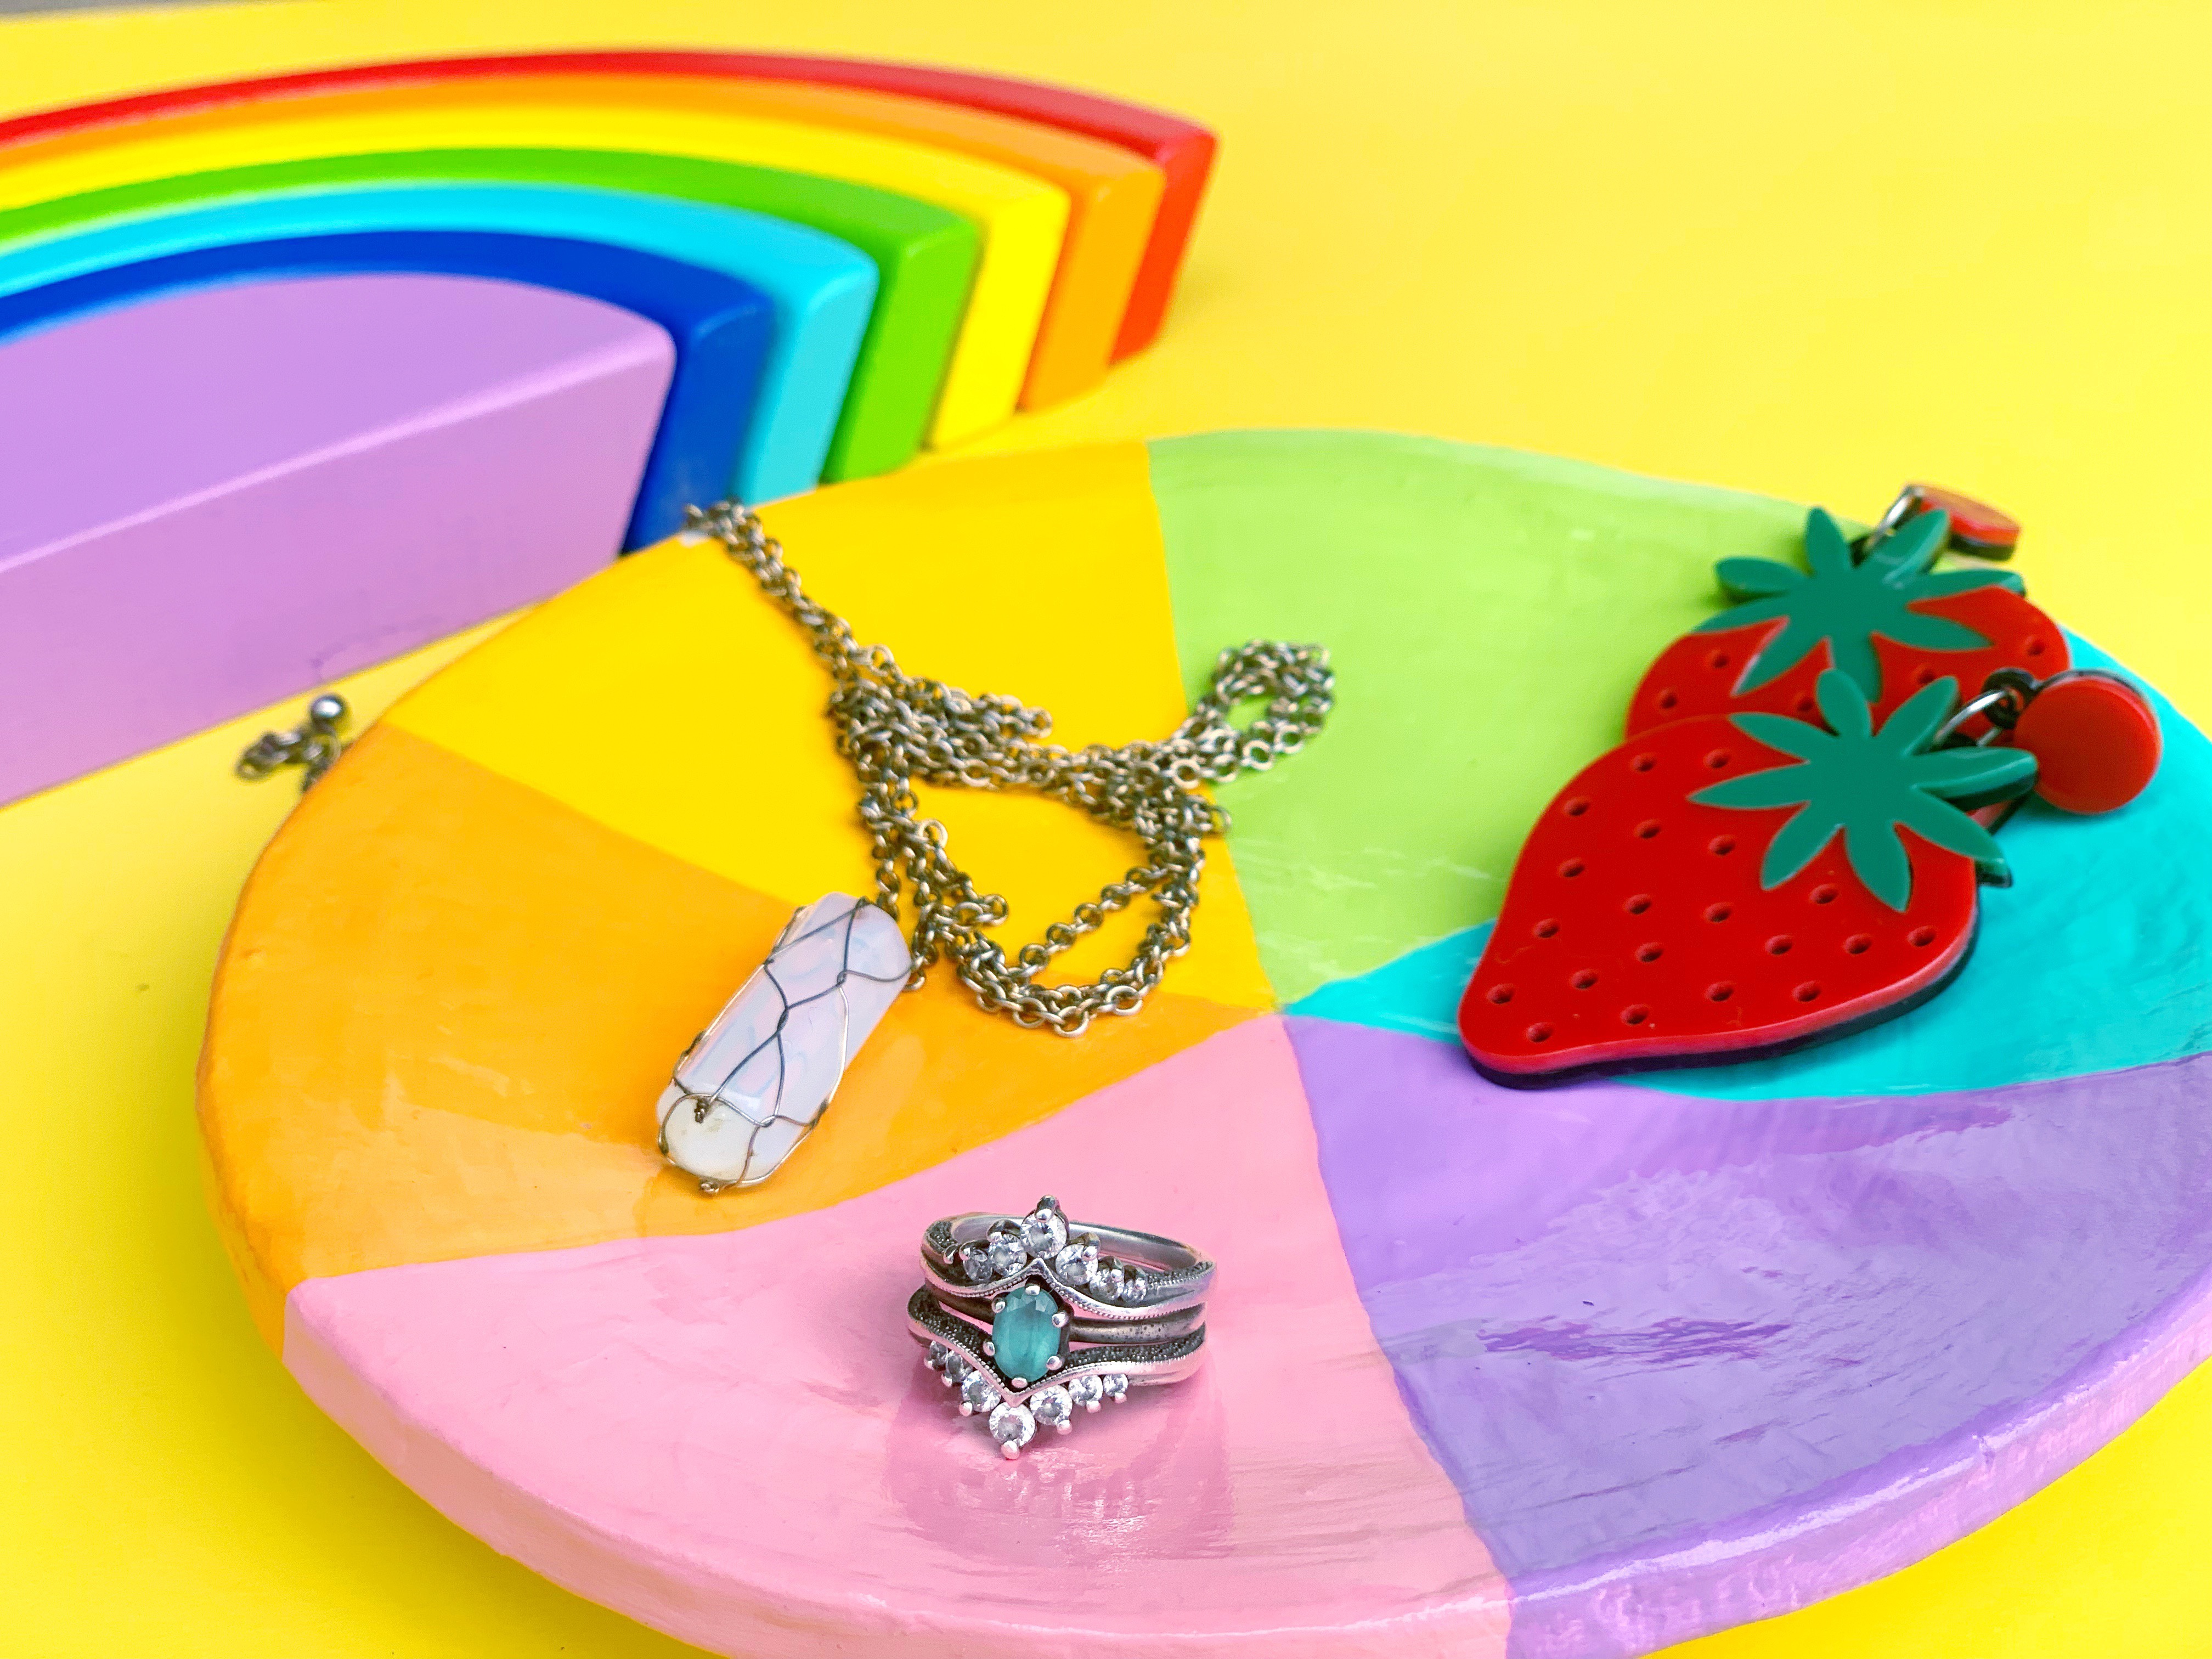
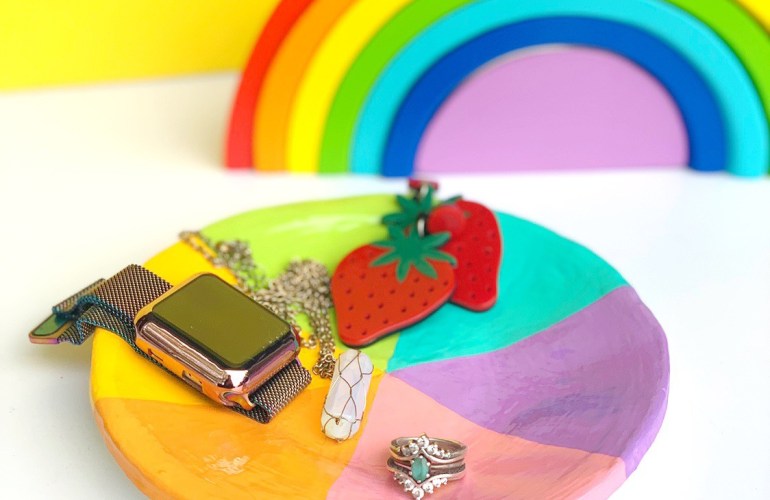
If you are anything like me, you probably end up leaving your stuff all over the house. Especially when you take off all your bulky accessories so you can relax for the day! Or if you are like my musician husband who is constantly leaving a trail of guitar picks everywhere he goes. Either way, it’s great to have a space for all those little things in your life that don’t seem to have a home anywhere else! And this catch-all dish is such a simple solution and an even simpler DIY!

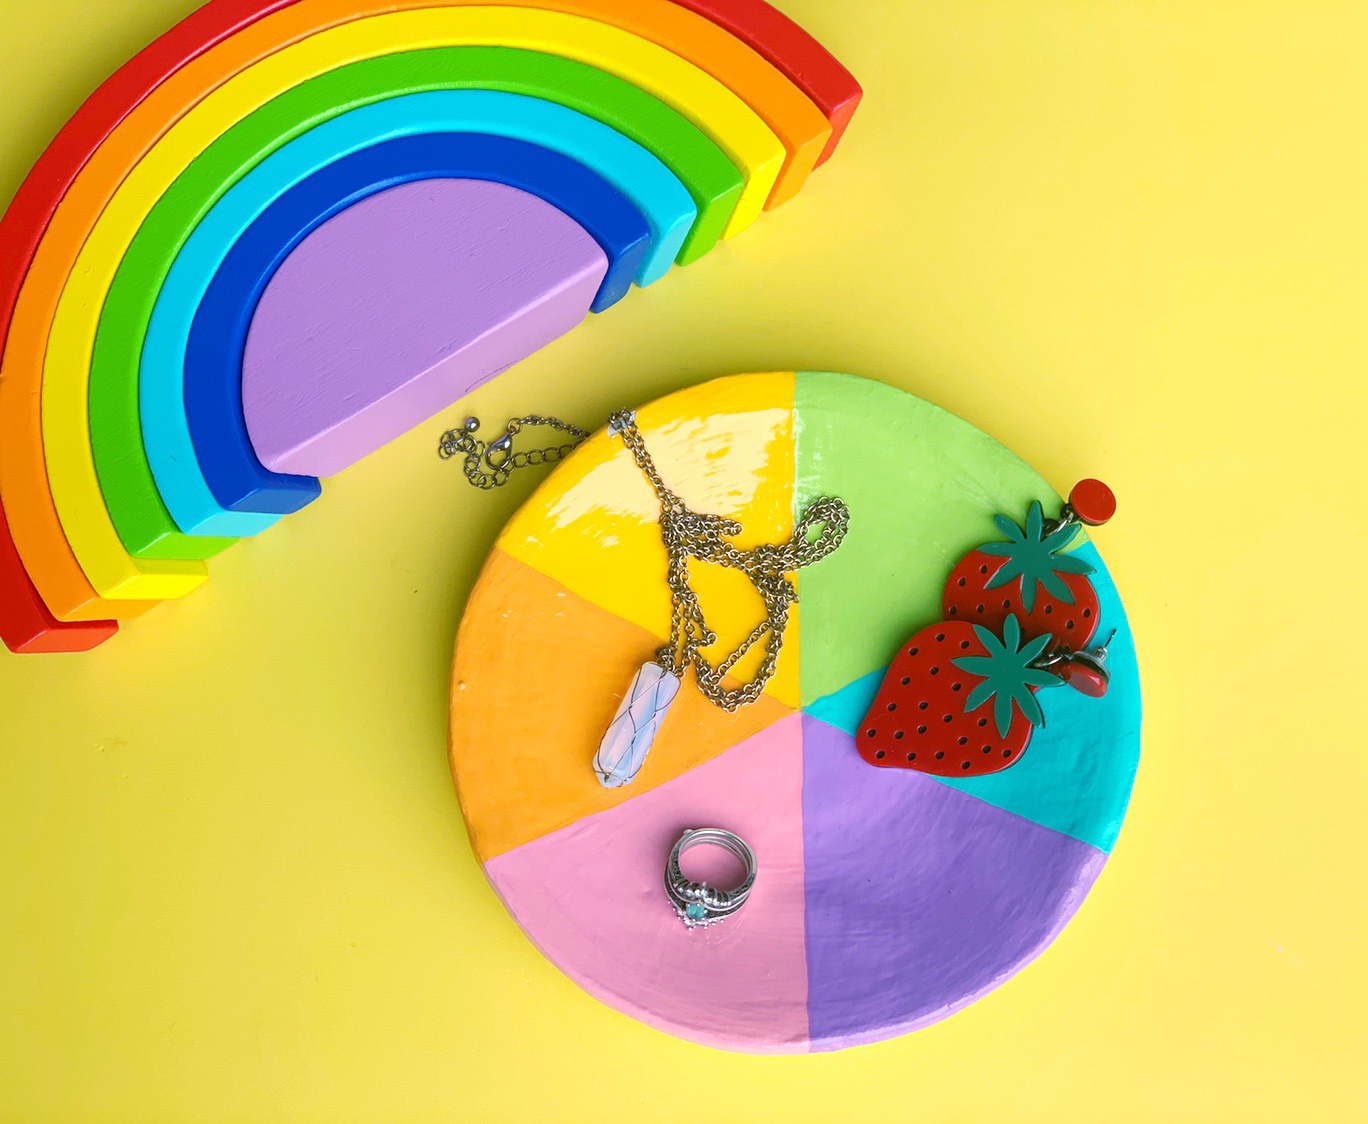
COLOR WHEEL CATCH-ALL DISH
Supplies:
– Air Dry Clay
– Clay Cutting/Sculpting Tool
– Small Plate (I used a 6 inch plate)
– Acrylic Paint (Red/Pink, Orange, Yellow, Green, Blue and Purple)
– Saran/Cling Wrap
– Ruler
– Pencil
– Paint Brush
How To:
1.) Take a handful of clay, lay down saran (cling) wrap or newspaper on a flat surface and roll out your clay. Be sure to pick up and flip your clay periodically when rolling to ensure that the clay does not stick to the surface. This flat rolled out clay is referred to as a slab.
2.) Once you have your clay slab rolled out, take your plate and lay it over the clay. Trace around the plate with your knife tool and cut out the shape.
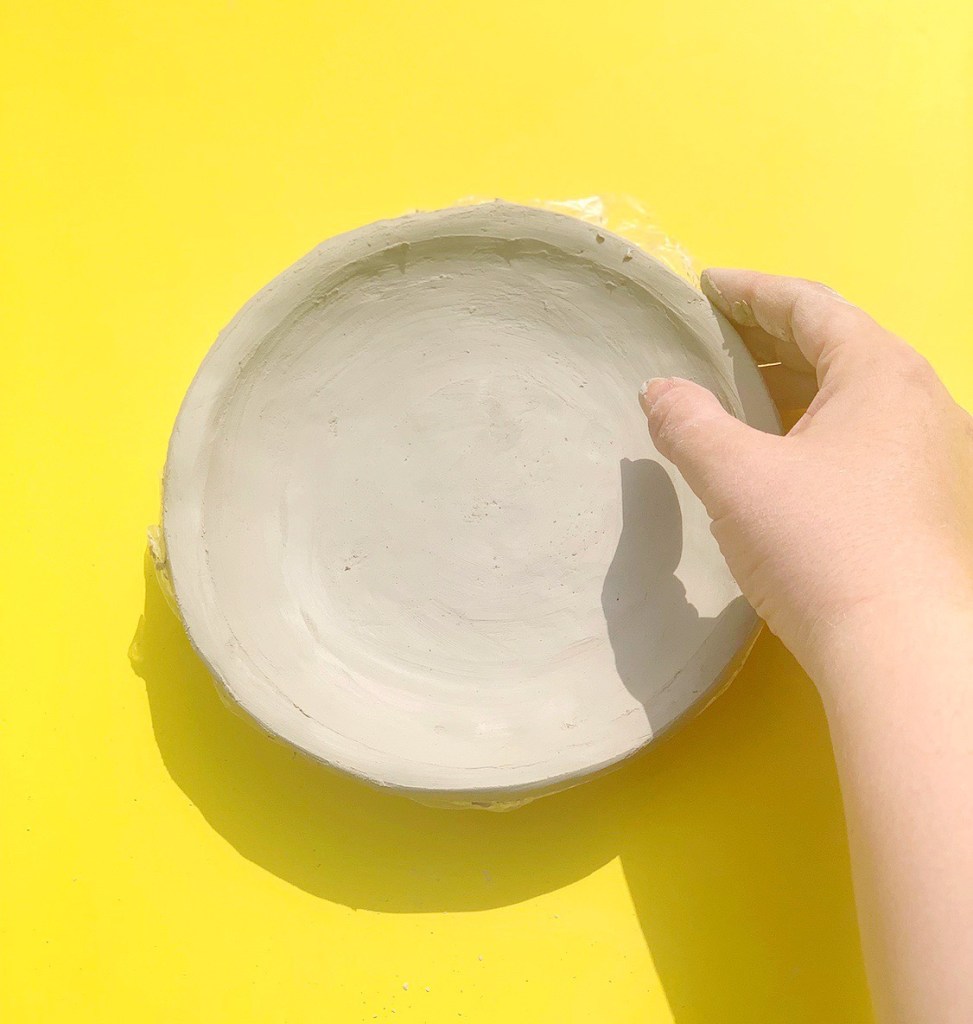
3.) Now that you have your circular clay slab, it’s time to shape so that it can hold your stuff! Wrap your plate with saran wrap and place the new clay slab directly on top of it. Once you have it in place, using your fingers, smooth the clay down firm onto the plate. This will make the clay take shape of the existing plate and will give it a bit of a lip so that it can hold objects.
4.) Now that you have the general shape of the plate, trim the access around the lip of the plate to make it even around the circumference of the plate.
5.) Once the clay had been shaped and trimmed, smooth over the surface to fix any imperfections. You can take a little bit of water on your fingertips to help smooth out as well.
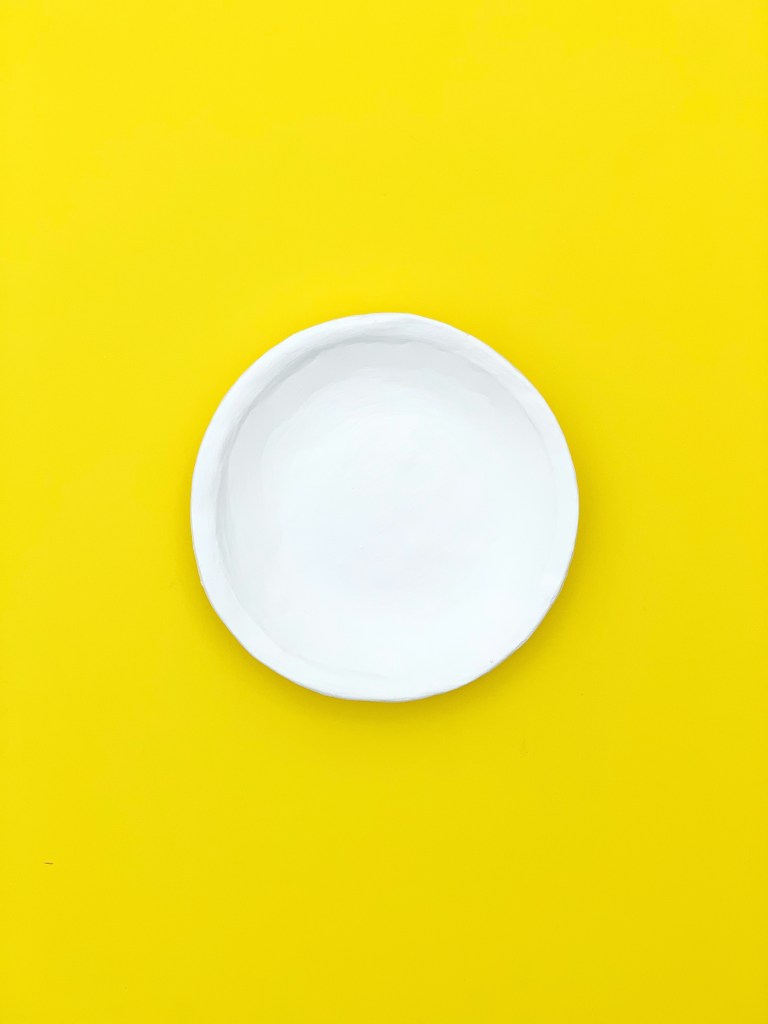
6.) Now that your plate is perfect, it needs to dry! With this clay being air dry, rather than a clay that you bake in an oven or a kiln, it may take a bit longer to dry completely. I would give it at least 1 full day to dry in the air, if not longer. As the moisture leaves your clay, it will turn from a medium gray to a light (almost white) gray. Wait for the plate to be bone dry and be white-gray in color.
7.) Now that your plate is completely dry, it’s time for the fun part: Painting! The first thing you will want to do is paint a base coat on top of your plate. I used a white primer paint so that it had even coverage and did not need multiple layers to complete. Paint your entire plate in your base coat. (backside too) This not only gives a more finished look when completed, it also makes it more durable.
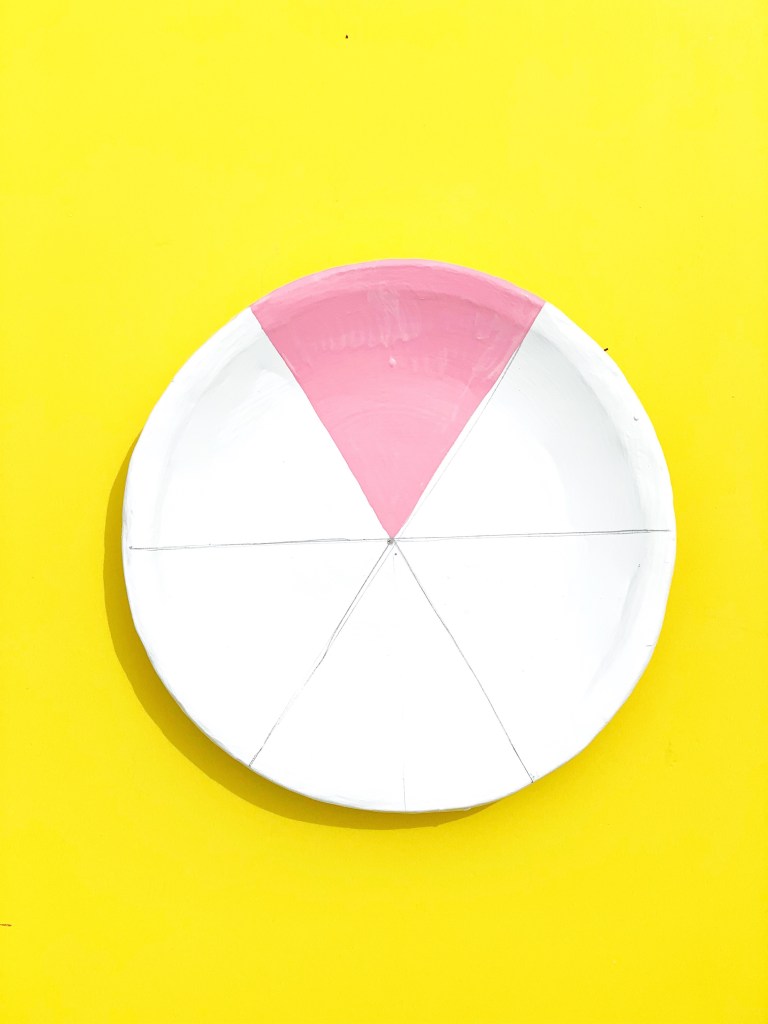
8.) Once your base coat is dry, take a ruler and a pencil and lightly mark a line across the diameter of the plate.
9.) Once you have your base line, it is time to section up the rest of the plate. A basic color wheel has 3 primary and 3 secondary colors, so you will need to sketch out 6 equal sections on the plate.
10.) Now that you have your sections plotted out, it’s time to get colorful! Paint each section individually. Use whatever colors you like, but if you would like to keep with a typical color wheel, you should use red, orange, yellow, green, blue and purple in that order. I substituted pink for red because I like to mix it up a bit 😉
11.) Allow paint to dry
12.)*OPTIONAL STEP* Now that you paint is dry and your plate is complete, for extra strength and presentation, spray the entire plate with acrylic sealer (either gloss or matte). This will help make your plate even more durable and if you choose a gloss sealer it gives it a beautiful glazed finish.
AUBURNARTISAN.COM