

I think we all would like to be better at saving our money! Especially for FUN things like vacations, road trips, and other adventures! And I have found if you can see what you are saving, it makes it a bit easier (and more fun) to add to your savings! So today, I am going to show how you can make your very own shadow box bank!
This year I am trying to make DIY’s that I am actually going to use! One of my New Year’s resolutions was to save for our trip to Ireland, so I thought, why not make a bank so I can see my progress?!
The cool thing about this bank is that you can customize it to whatever YOU want to save for! I chose to make it a “fun fund” so that I can continue to use it for whatever I may so choose in the future. You could also make it a “rainy-day fund” or an “adventure fund”, totally up to you!

SUPPLIES:
- Shadow Box Frame
- Paint Pens
- Scissors
- Picture of whatever you like! (I chose a picture of Ireland since I am saving for Ireland. Kind of a motivator for me to save toward.)
- MONEY, MONEY, MONEY!
Additional tools you will need:
- Ruler
- Tape
- Drill (with at least a 5/32″ drill bit)
- Sanding paper
- Black Paint
- Pencil
- Permanent Marker


HOW TO:
- Take a ruler and measure out and mark a 2 inch line in the absolute middle of the frame.
- Take the drill and drill multiple holes along the line so that you create an opening.
- There will now be an opening, but it will not look very good! lol Use the sand paper to file any uneven sections of the newly drilled out line.
- Paint or stain the opening you just created to match the rest of the frame. (Hack: I used a black frame, so rather than painting or staining the hole, I just colored it in with a black sharpie! Score!)

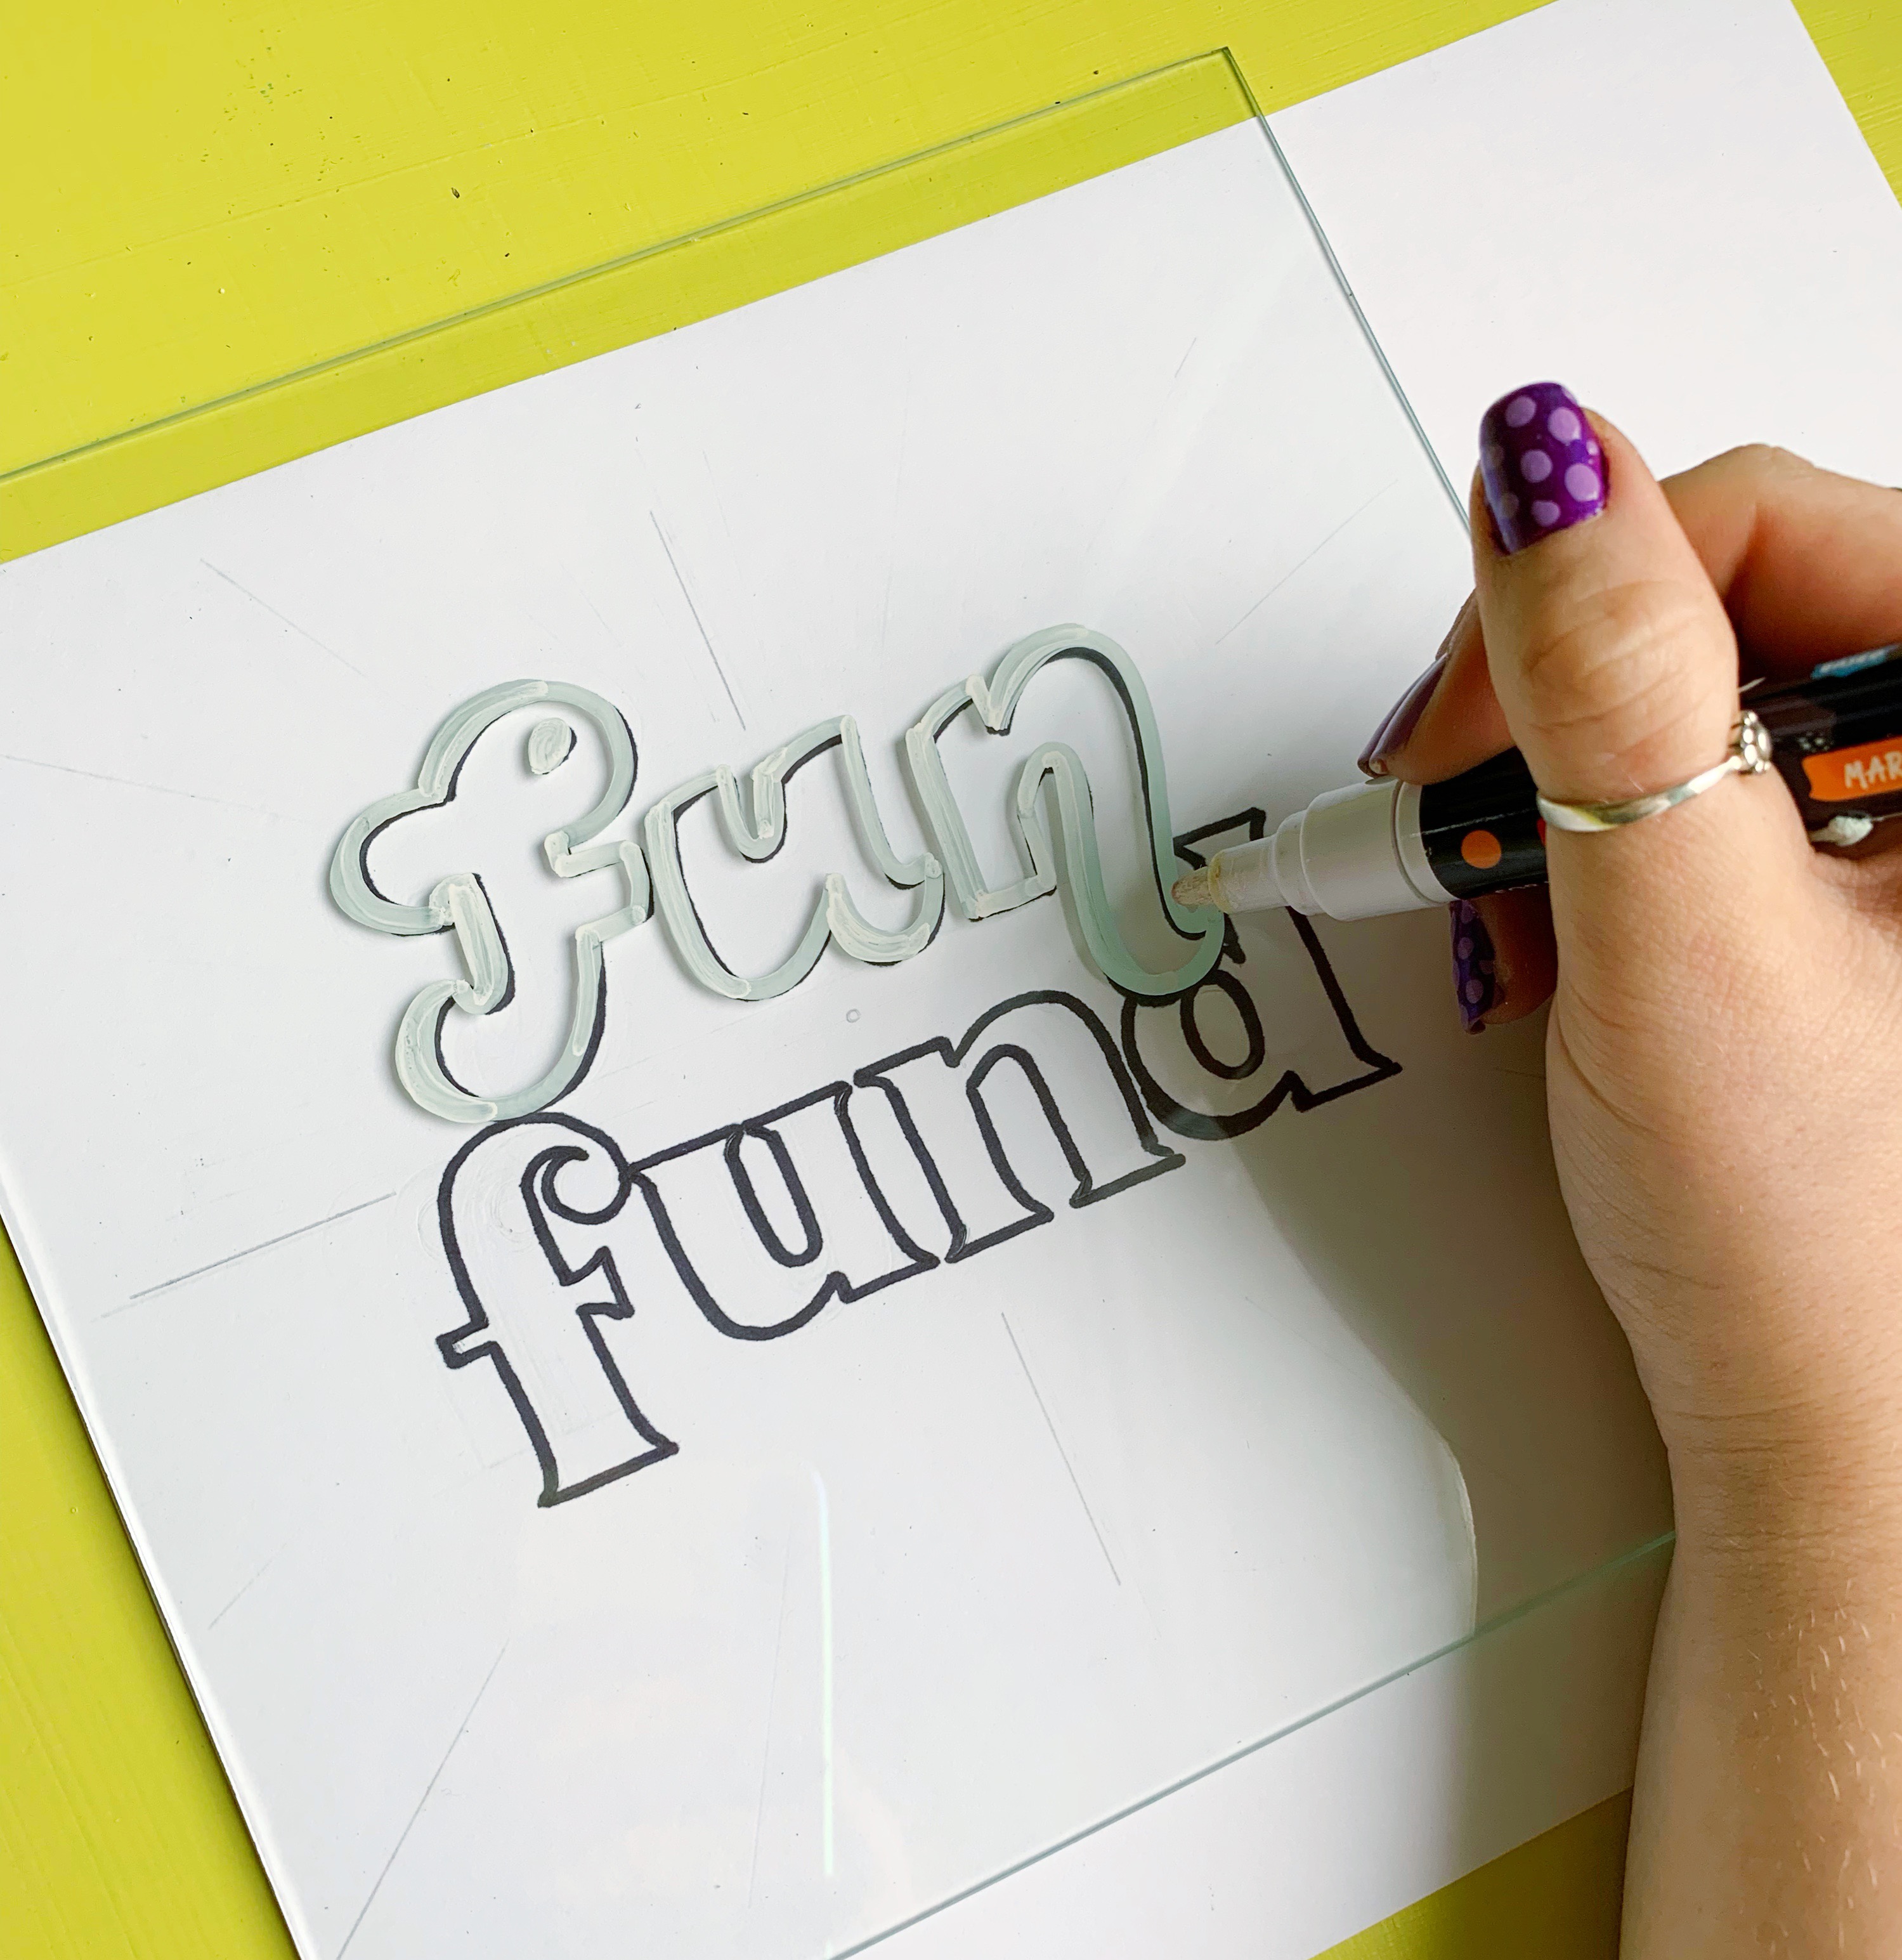

- *OPTIONAL STEP* I decided to sketch out what I was going to paint on the glass on a piece of paper to make sure I had it just right before painting it on.
- Place that sketch down on a flat surface and lie the glass from the frame on top of it. Using your paint marker, trace the letters you sketched out.
- Take away the the sketch paper and you will see that you have the letters perfectly set on the outside of the glass!
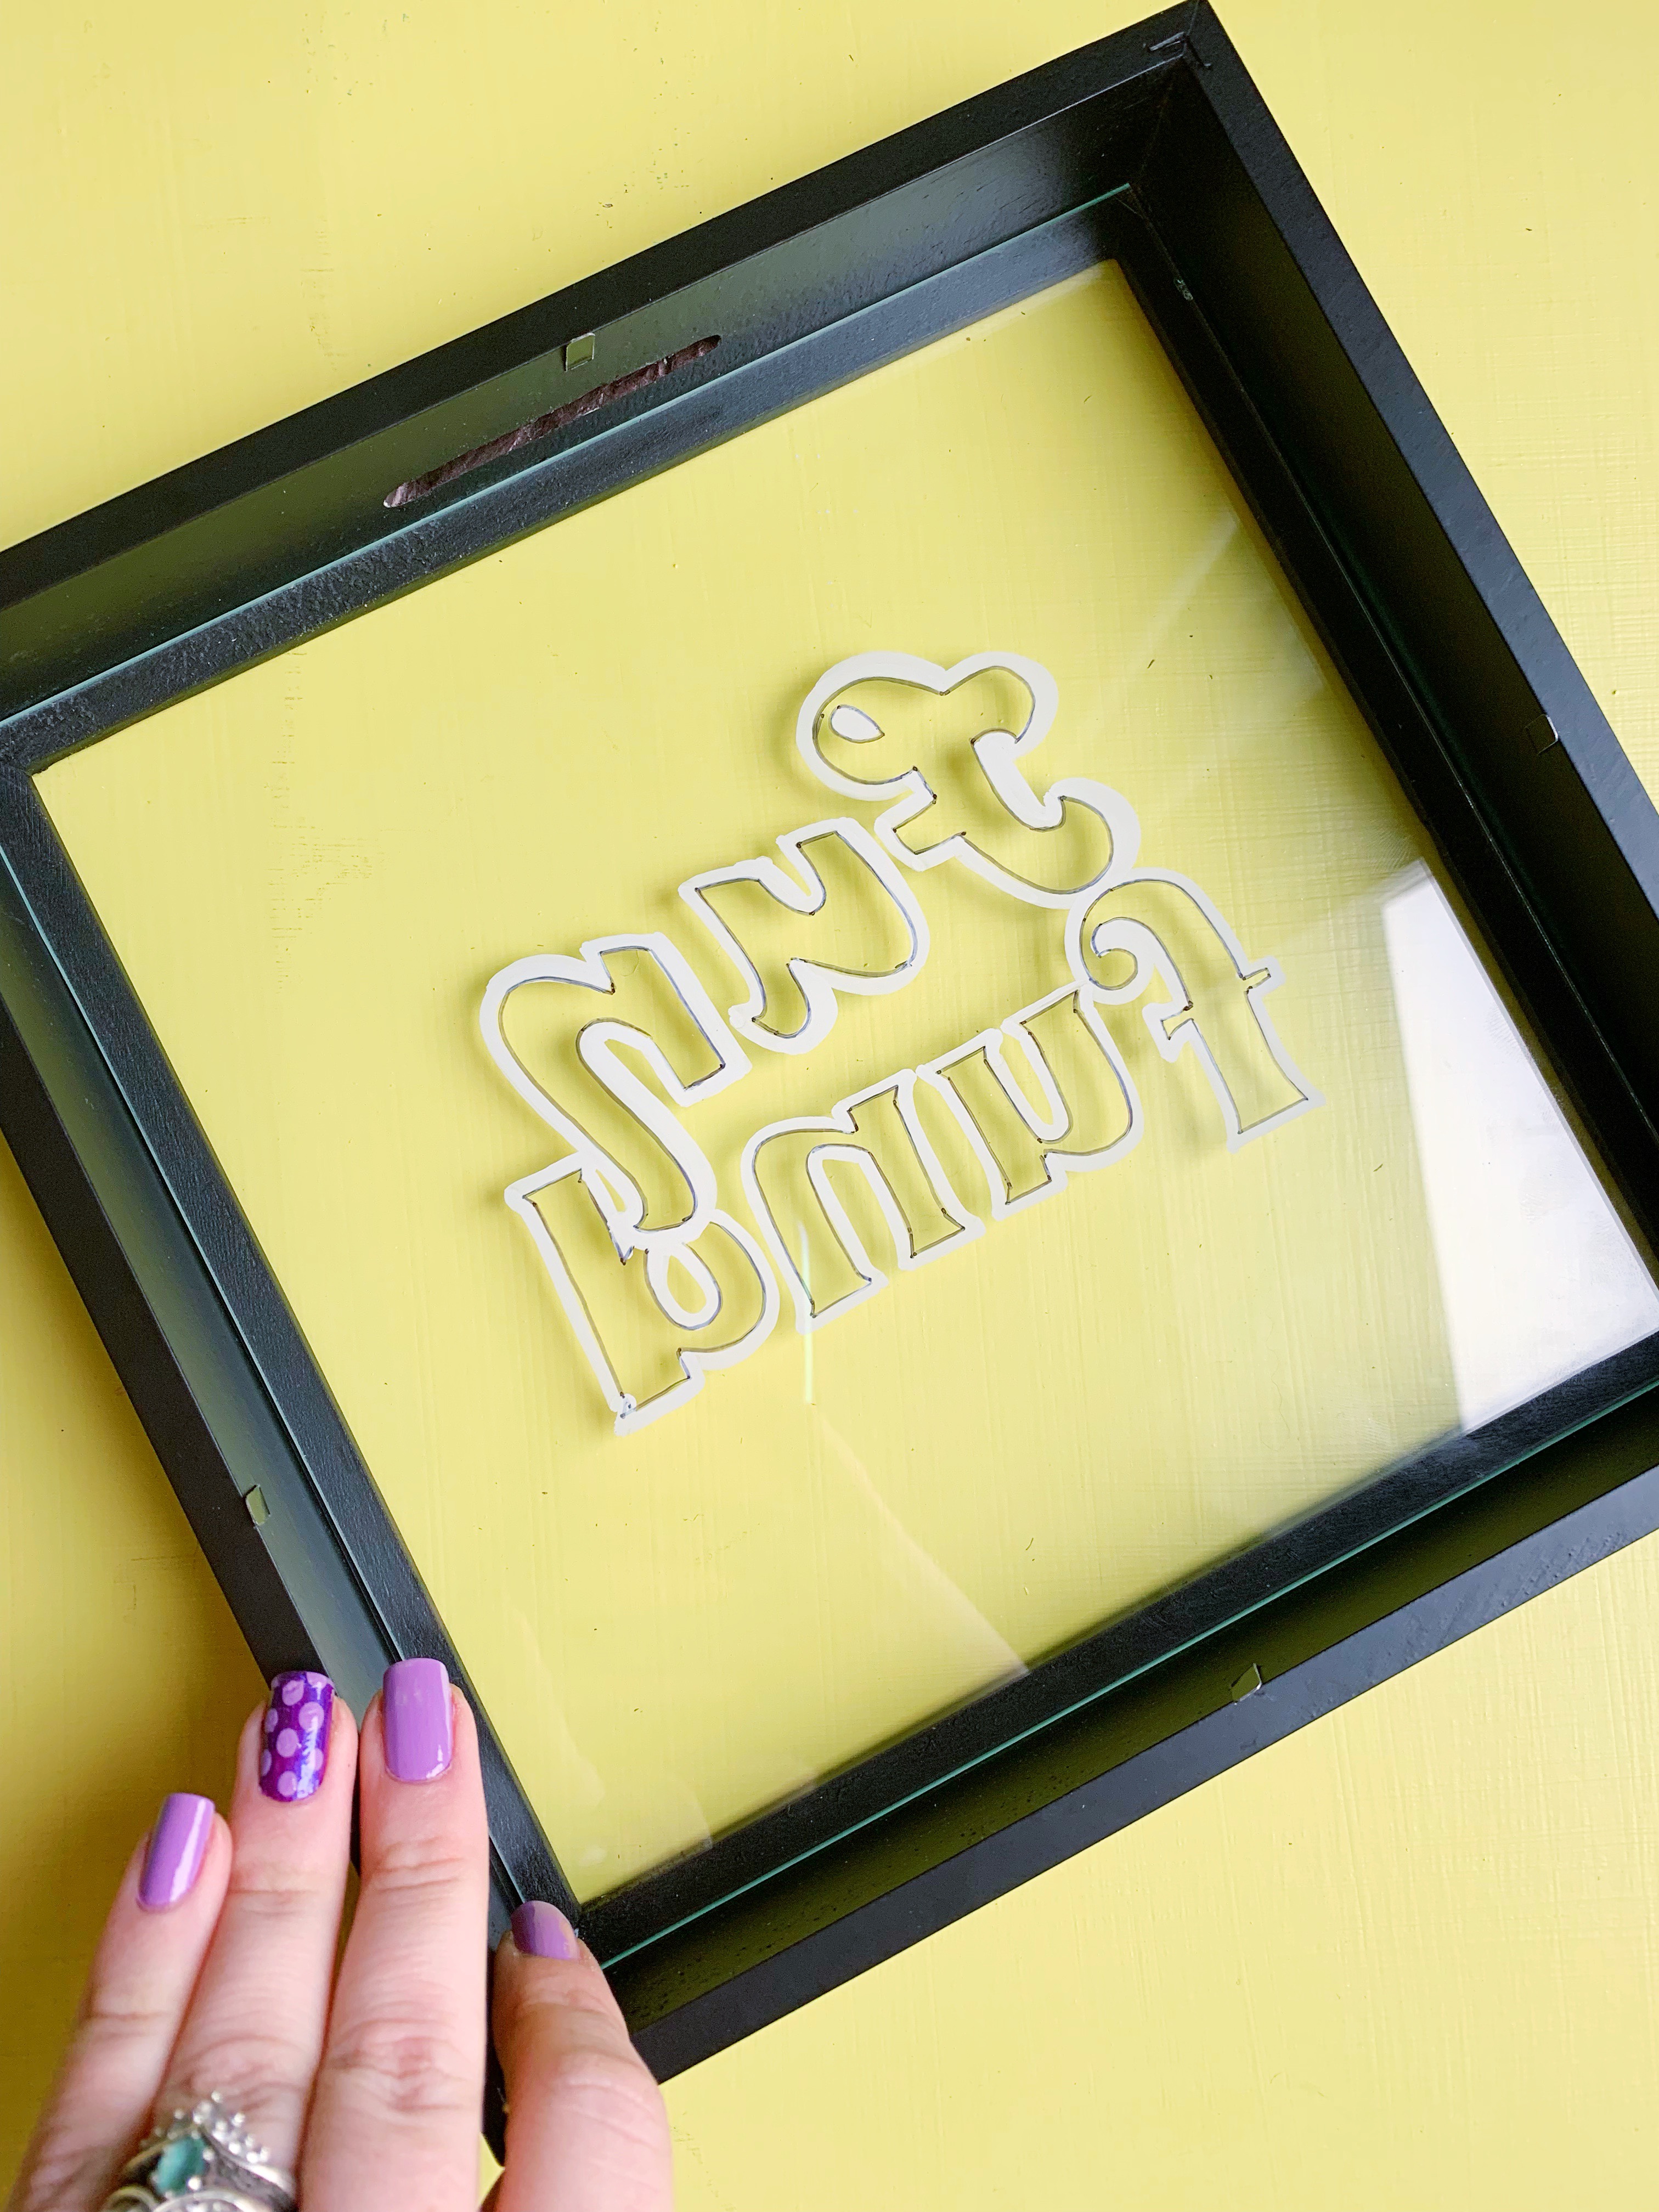
- Let the paint dry completely.
- Place the glass back inside the frame.
- Insert a background picture of your choosing.
- Put the back of the frame back on and…. VOILA!!

Created by Auburn Artisan
Hang this adorable frame up where ever you like and start saving!!! Once you have saved up for you first planned to, change the image and start saying up toward your next adventure!
